
Do you remember eating Twinkies when you were growing up? Although I usually ate lunch in the school cafeteria, I remember ogling my friends’ lunches when they brought their Hostess Twinkies to school for dessert.
Decades later, I thought I would pay homage to these little cakes with the rounded tops and creamy filling, but this time with a Valentine’s Day touch using a red velvet cake recipe. I know that many people are tired of seeing red velvet cake recipes at this time of year, but after all, this is really a chocolate cake disguised with red food coloring- who could resist that!
I got the idea for this recipe after buying a mini- buche mold (log-shaped mold) to practice making some French pastries. After seeing the mold, it reminded me of twinkies, hence the recipe was born.
Here is a photo of my mini-buche mold with the rounded bottoms- you could also make individual log-shaped molds yourself using aluminum foil.
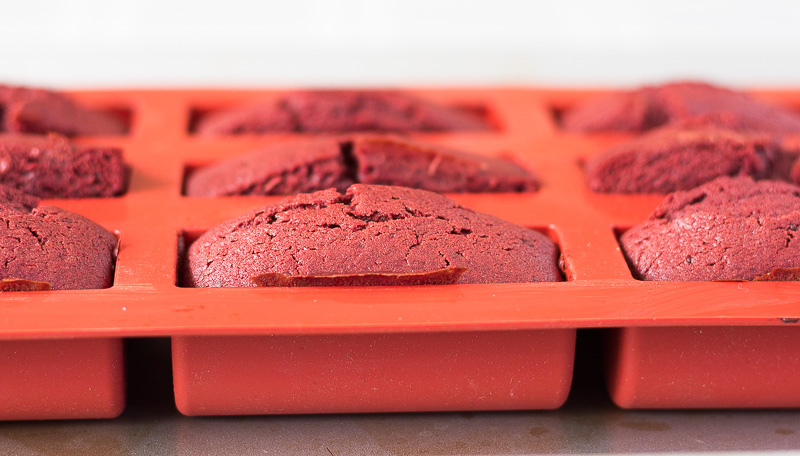
You’ll notice that the cakes rise above the tops of the molds- after you release the cakes from the mold, you’ll need to trim off the tops so the twinkies remain flat when you turn them over (the rounded side will then remain on top).
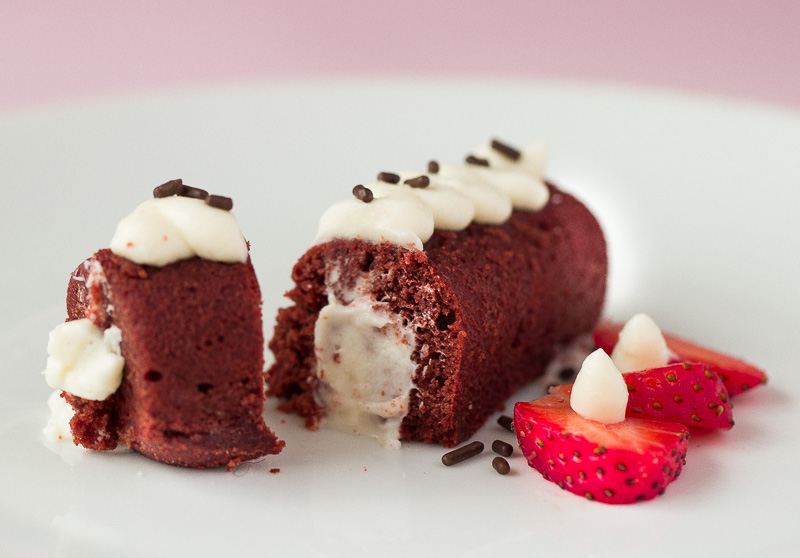
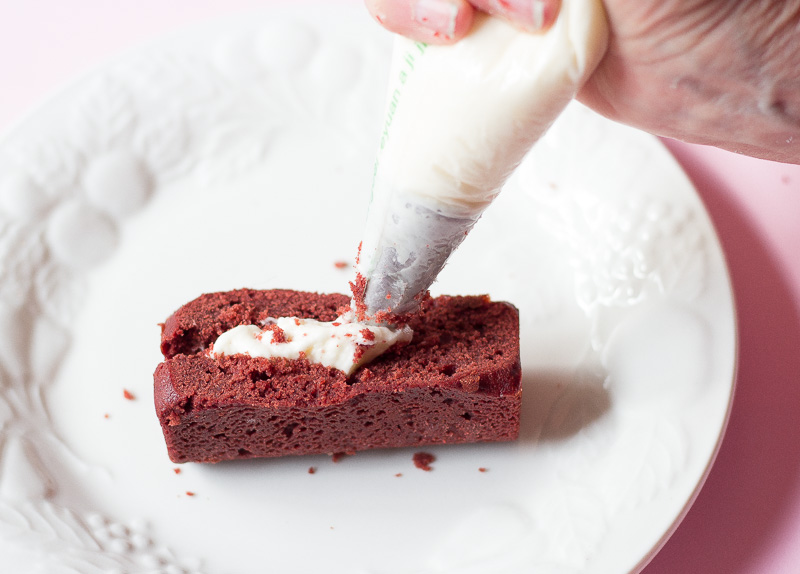
Did I mention that these Twinkies have a Butter Cream filling inside? To insert the filling, make a cut along the bottom of the twinkie and pipe the filling into the cake. The cut should be rather deep, but be careful not to cut all the way through the twinkie. After filling the cakes, pipe some of the filling on top of each twinkie for further decoration and add some chocolate sprinkles, if desired.
I could honestly eat three of these on a plate!

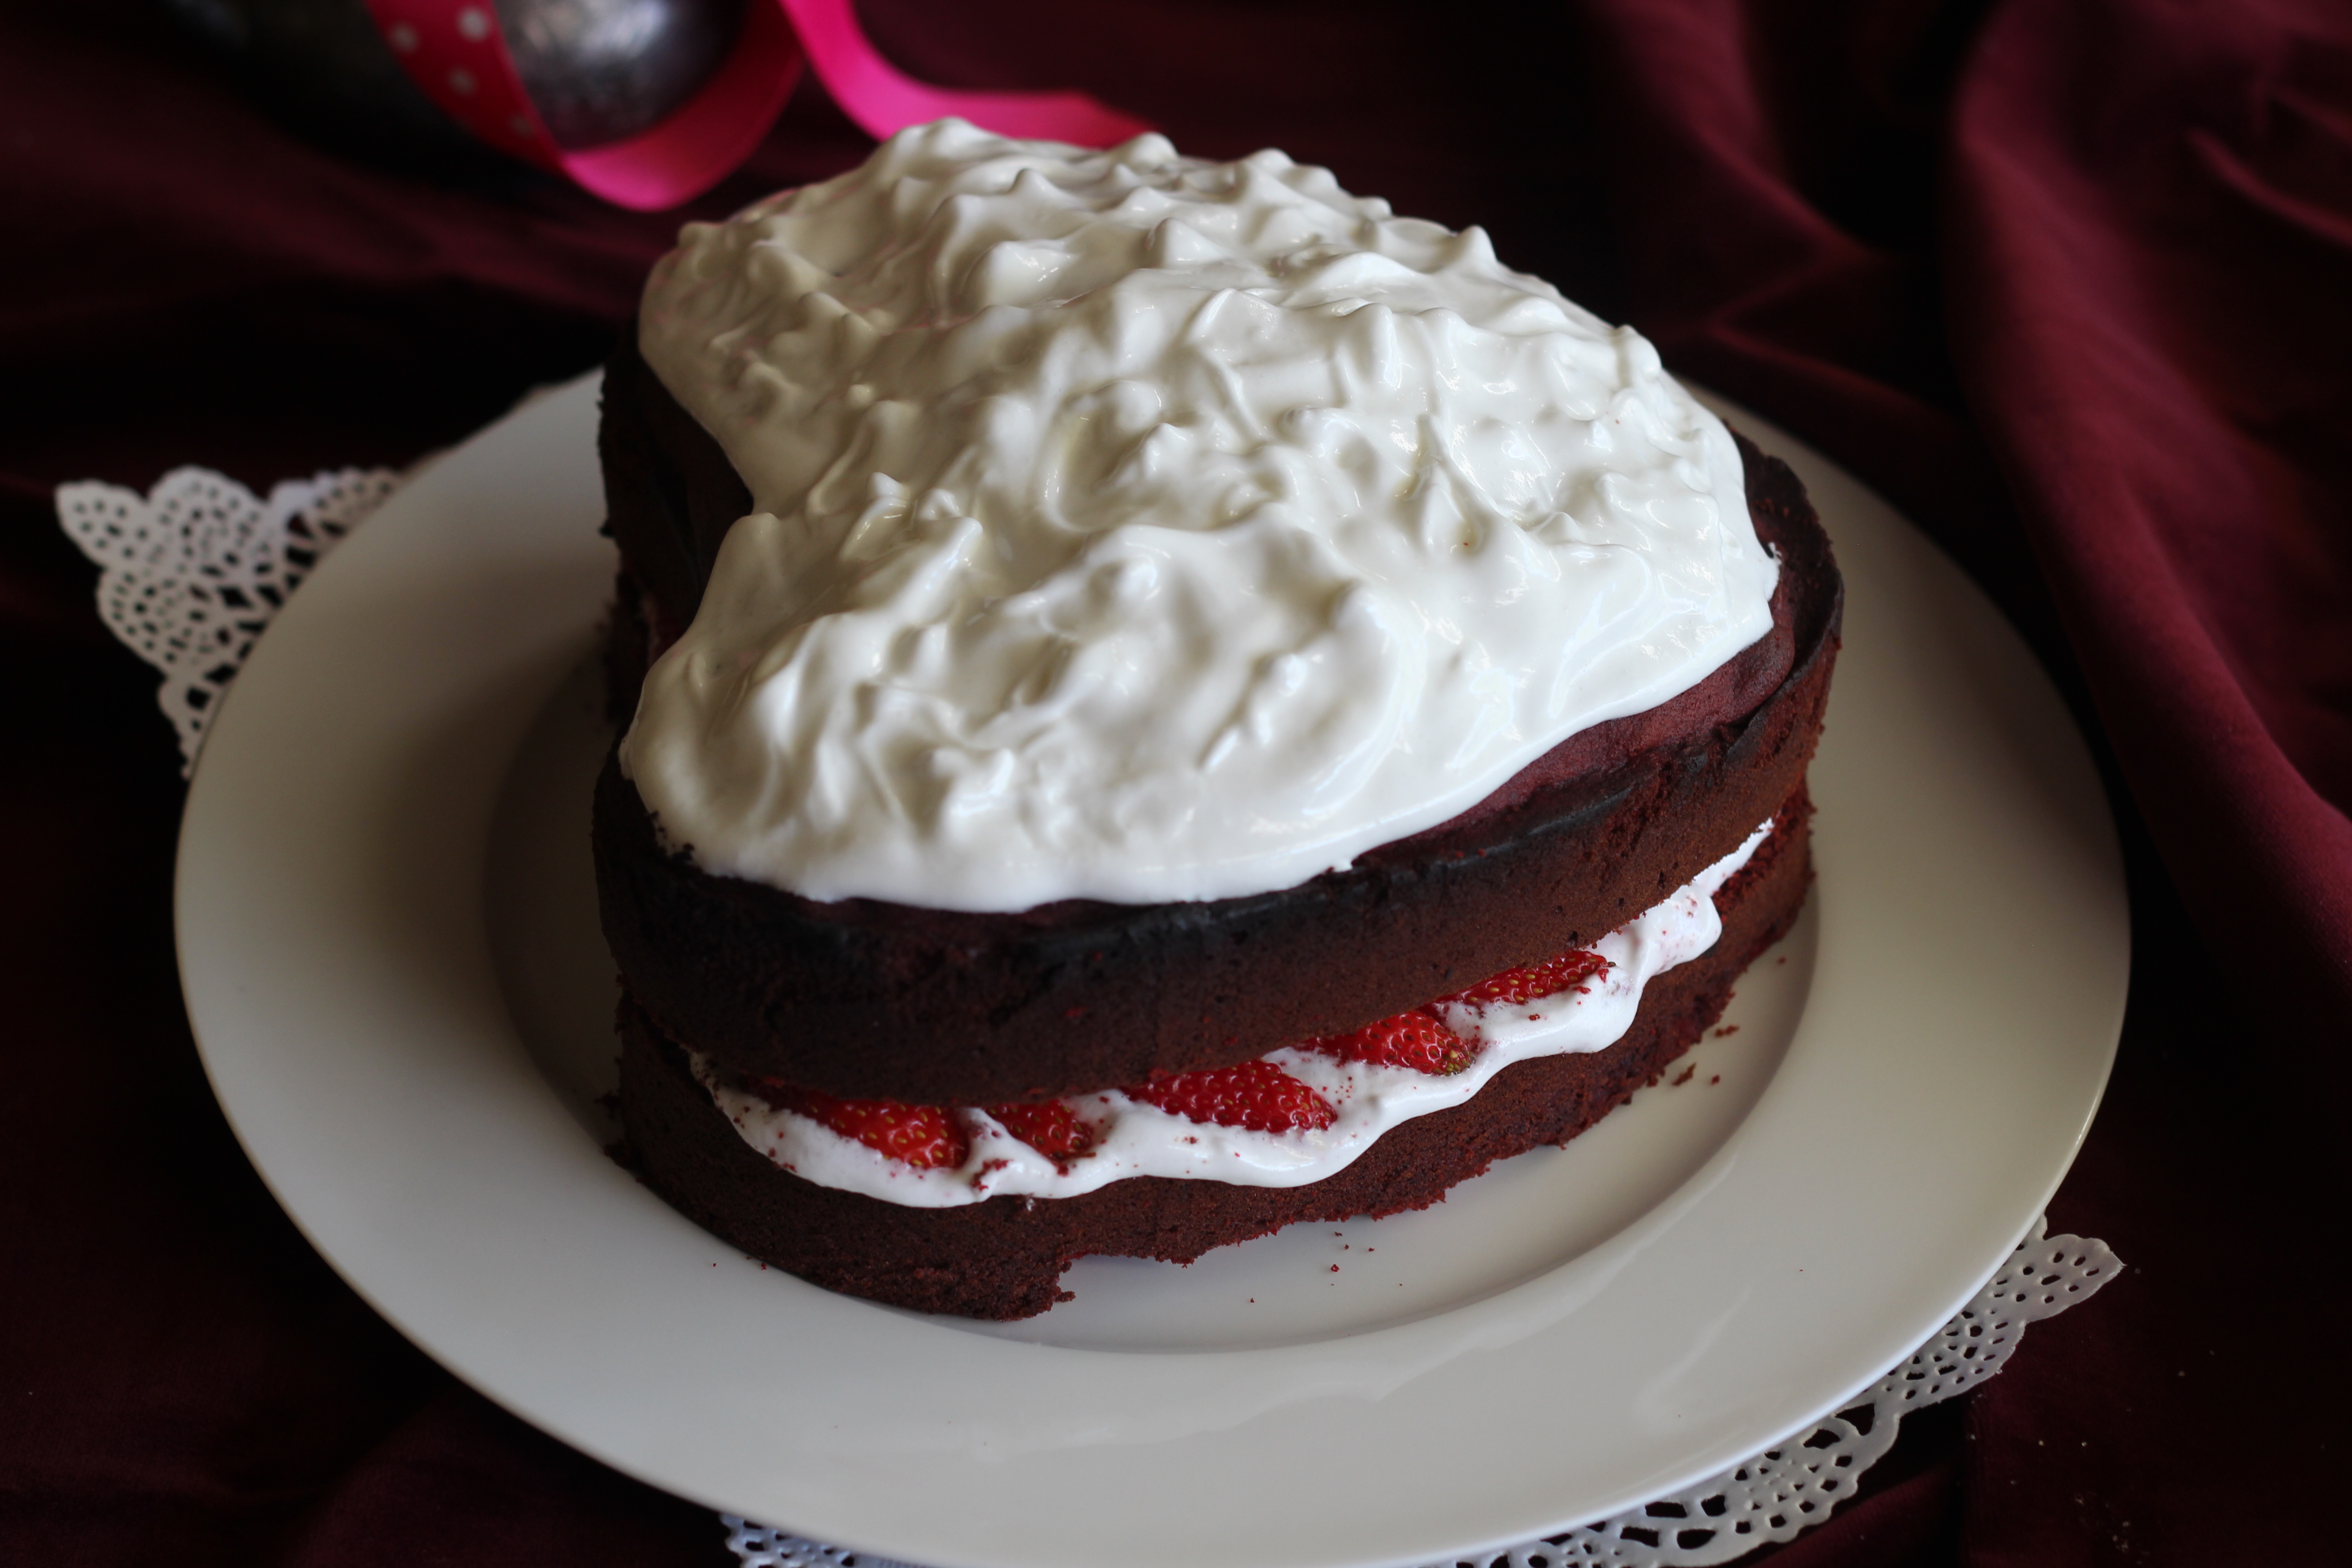
Here is a photo of my heart-shaped Red Velvet Valentine Cake that I posted five years ago- I still love this kind of cake!
Enjoy your Red Velvet Twinkies with your favorite Valentine!
Pre-heat oven to 350 F. Add butter, sugar and vanilla extract to a bowl and beat with electric mixer until creamy and smooth. Add one egg at a time, beating well after each addition. Add the buttermilk, vinegar and red food coloring and beat until smooth. In a separate bowl, sift together the flour, baking powder and cocoa. Gradually add the dry ingredients to the wet ingredients, mixing after each addition. Fill the individual wells of the 'mini-buche' mold ('Twinkie' mold), filling each hole 3/4 full. If you do not have access to this type of mold, then you can make your own individual log molds using aluminum foil. Bake for 12-15 minutes or until a probe inserted into the twinkies comes out clean. Let cool then remove each twinkie from the mold. Trim the bottom of each twinkie with a knife so that it lies flat with the rounded side facing up; set aside while you make the filling. To prepare the Butter Cream filing, combine the softened cream cheese, confectioner's (icing) sugar, cream, softened butter and vanilla flavoring. Mix with electric beaters until smooth. With the flat side facing up, make a cut about one inch deep down the center of each twinkie- be careful not to cut all the way through the cake. Pipe the filling along the center of each twinkie, then turn the twinkie over so the rounded side faces upward. Pipe more filling along the top for more decoration; sprinkle with chocolate sprinkles, if desired. Now serve to your favorite Valentine!Red Velvet Valentine Twinkies
Print Recipe
Ingredients
Instructions
7 Comments
Mimi
February 13, 2019 at 11:42 pmNow I know what you meant about eating two Twinkies! These are so cute. I was the weird kid who didn’t think much of twinkies and ding dongs.
John / Kitchen Riffs
February 14, 2019 at 1:05 amVery cool! Really fun idea. Haven’t had a Twinkie in years — decades! Did like them as a kid, though. 🙂
John / Kitchen Riffs recently posted…The Cabaret Cocktail
David
February 16, 2019 at 3:59 pmWow. Now I think all Twinkies should be red velvet! Wonderful!
lisaiscooking
February 19, 2019 at 7:34 amThese look so great! What a fantastic Valentine’s treat. This makes me want to go baking pan shopping.
Juliana
February 21, 2019 at 1:06 pmOMG, Twinkies…I have not had it in years…and I love this version…so pretty and perfect for the Valentine’s Day…and any other day where dessert/snack are required. Thanks for the recipe Fran…I hope you are having a great week!
Simply Sweet Justice
February 22, 2019 at 4:50 amI love red velvet! I haven’t made it in ages, but that may need to change.
Karen (Back Road Journal)
February 27, 2019 at 7:12 amOh how fun…I love your red velvet Twinkies.
Karen (Back Road Journal) recently posted…Savory Goat Cheese Truffles