
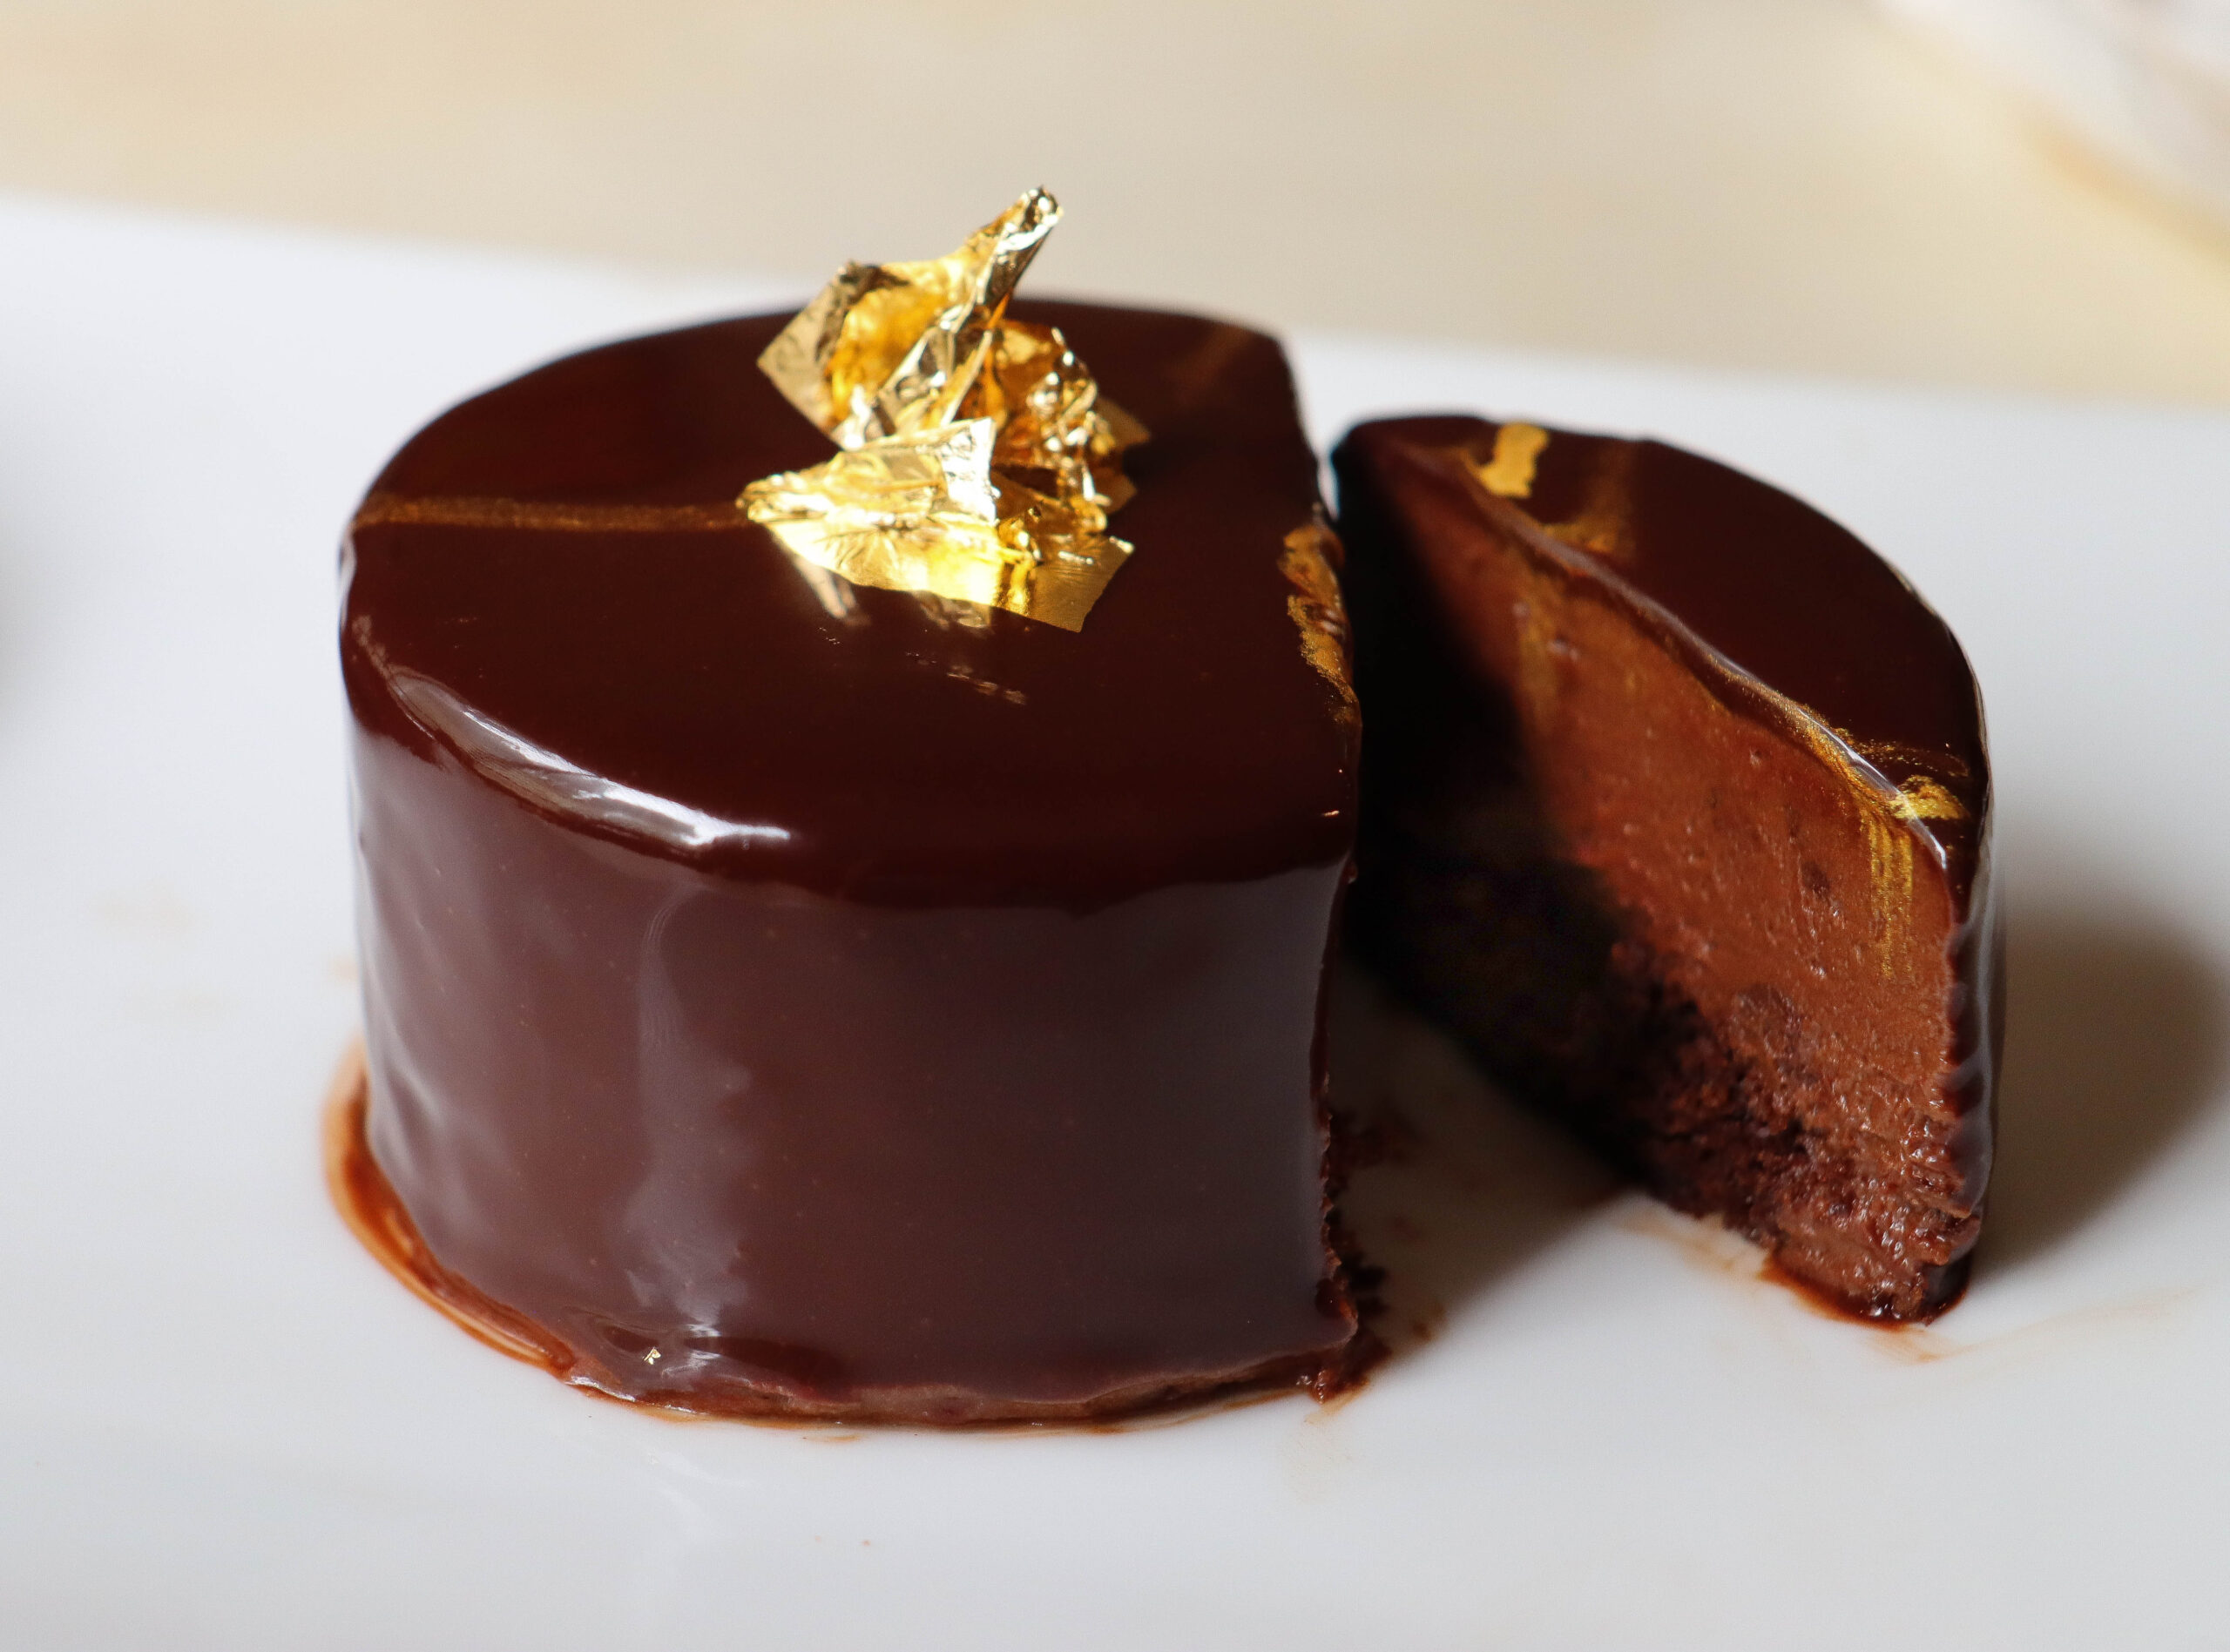

What is an Entremet Cake?
An Entremet Cake is a French dessert made of multiple layers, usually including mousse, ganache, cake, and covered with a mirror glaze. You can create various textures within the cake such as adding a crunchy ‘dacquoise’, a moist fruit compote, or a creamy mousse. The opportunities to decorate the top of your entremet cake are also endless, and may include sprinkles, edible gold leaf, nuts, or anything you desire! This cake will definitely WOW your family and guests!
My recipe here is based on a tutorial by Sugar Geek Recipes which I tried to visually condense into fewer steps. It’s a wonderful recipe featuring smaller individual cakes made in 2-inch high metal cake rings. Although there are multiple steps involved, you can spread them over several days to make it easier- it’s worth it!
Day 1: Prepare the chocolate cake, ganache, mousse, and assemble the entremets
Day 2: Prepare the glaze, decorate, and serve!
Word of caution: do not use chocolate chips for this recipe since they will prevent your chocolate from melting smoothly. Recommended to use ‘real chocolate; with at least 60-70% cocoa content.
Chocolate Fudge Cake
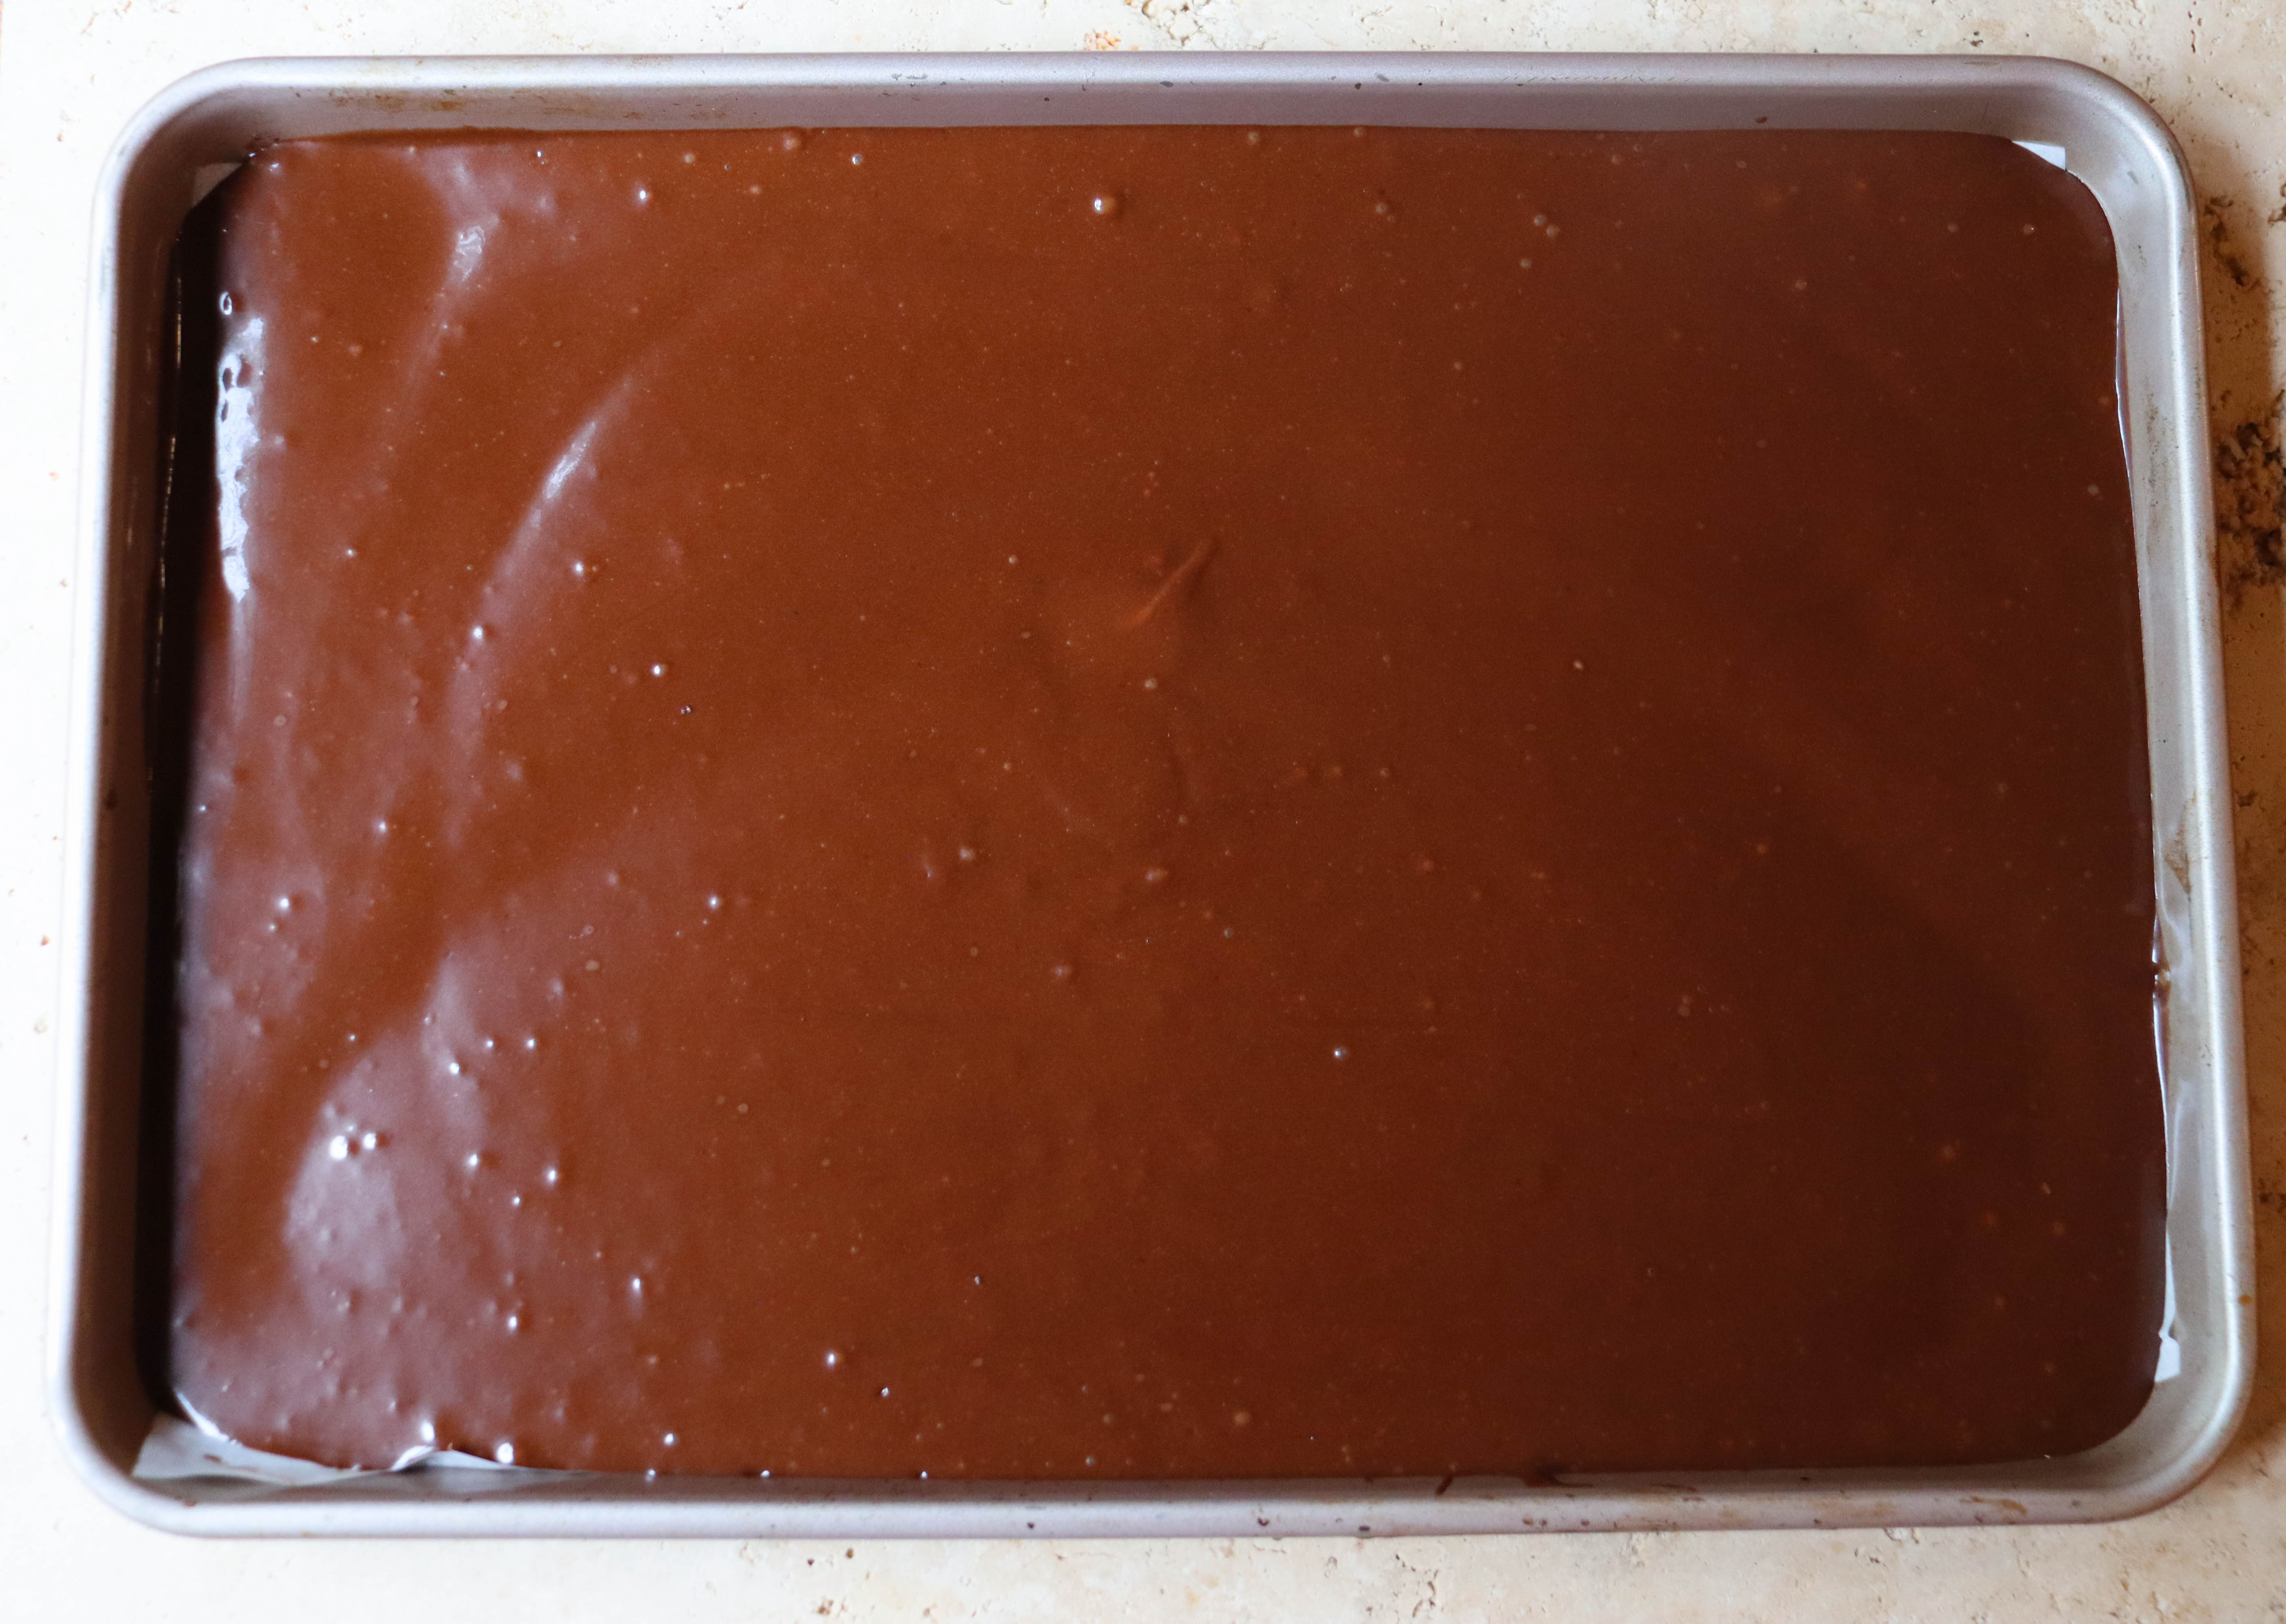
This cake will be the foundation (bottom part) of your dessert. To make the cake, combine all dry ingredients into a large bowl: flour, cocoa powder, sugar, baking powder, baking soda, and salt. In a separate smaller bowl, whisk together the water, mayonnaise, and vanilla extract. Using an electric mixer (or stand mixer) set on low speed, gradually add the wet ingredients to the dry ingredients until the batter is combined, then increase the speed to ‘medium’ setting for one more minute until the batter is smooth and fully incorporated. Pour the batter into a parchment-lined 1/4 sheet pan (15×10 inches) and bake for 15 minutes or until the center the of the cake is set.
Let the cake cool for 15 minutes, remove from pan, cover in plastic wrap and place in freezer for 2-3 hours.
Tip: If the cake is too large for your freezer, you can cut it in half before wrapping in plastic.
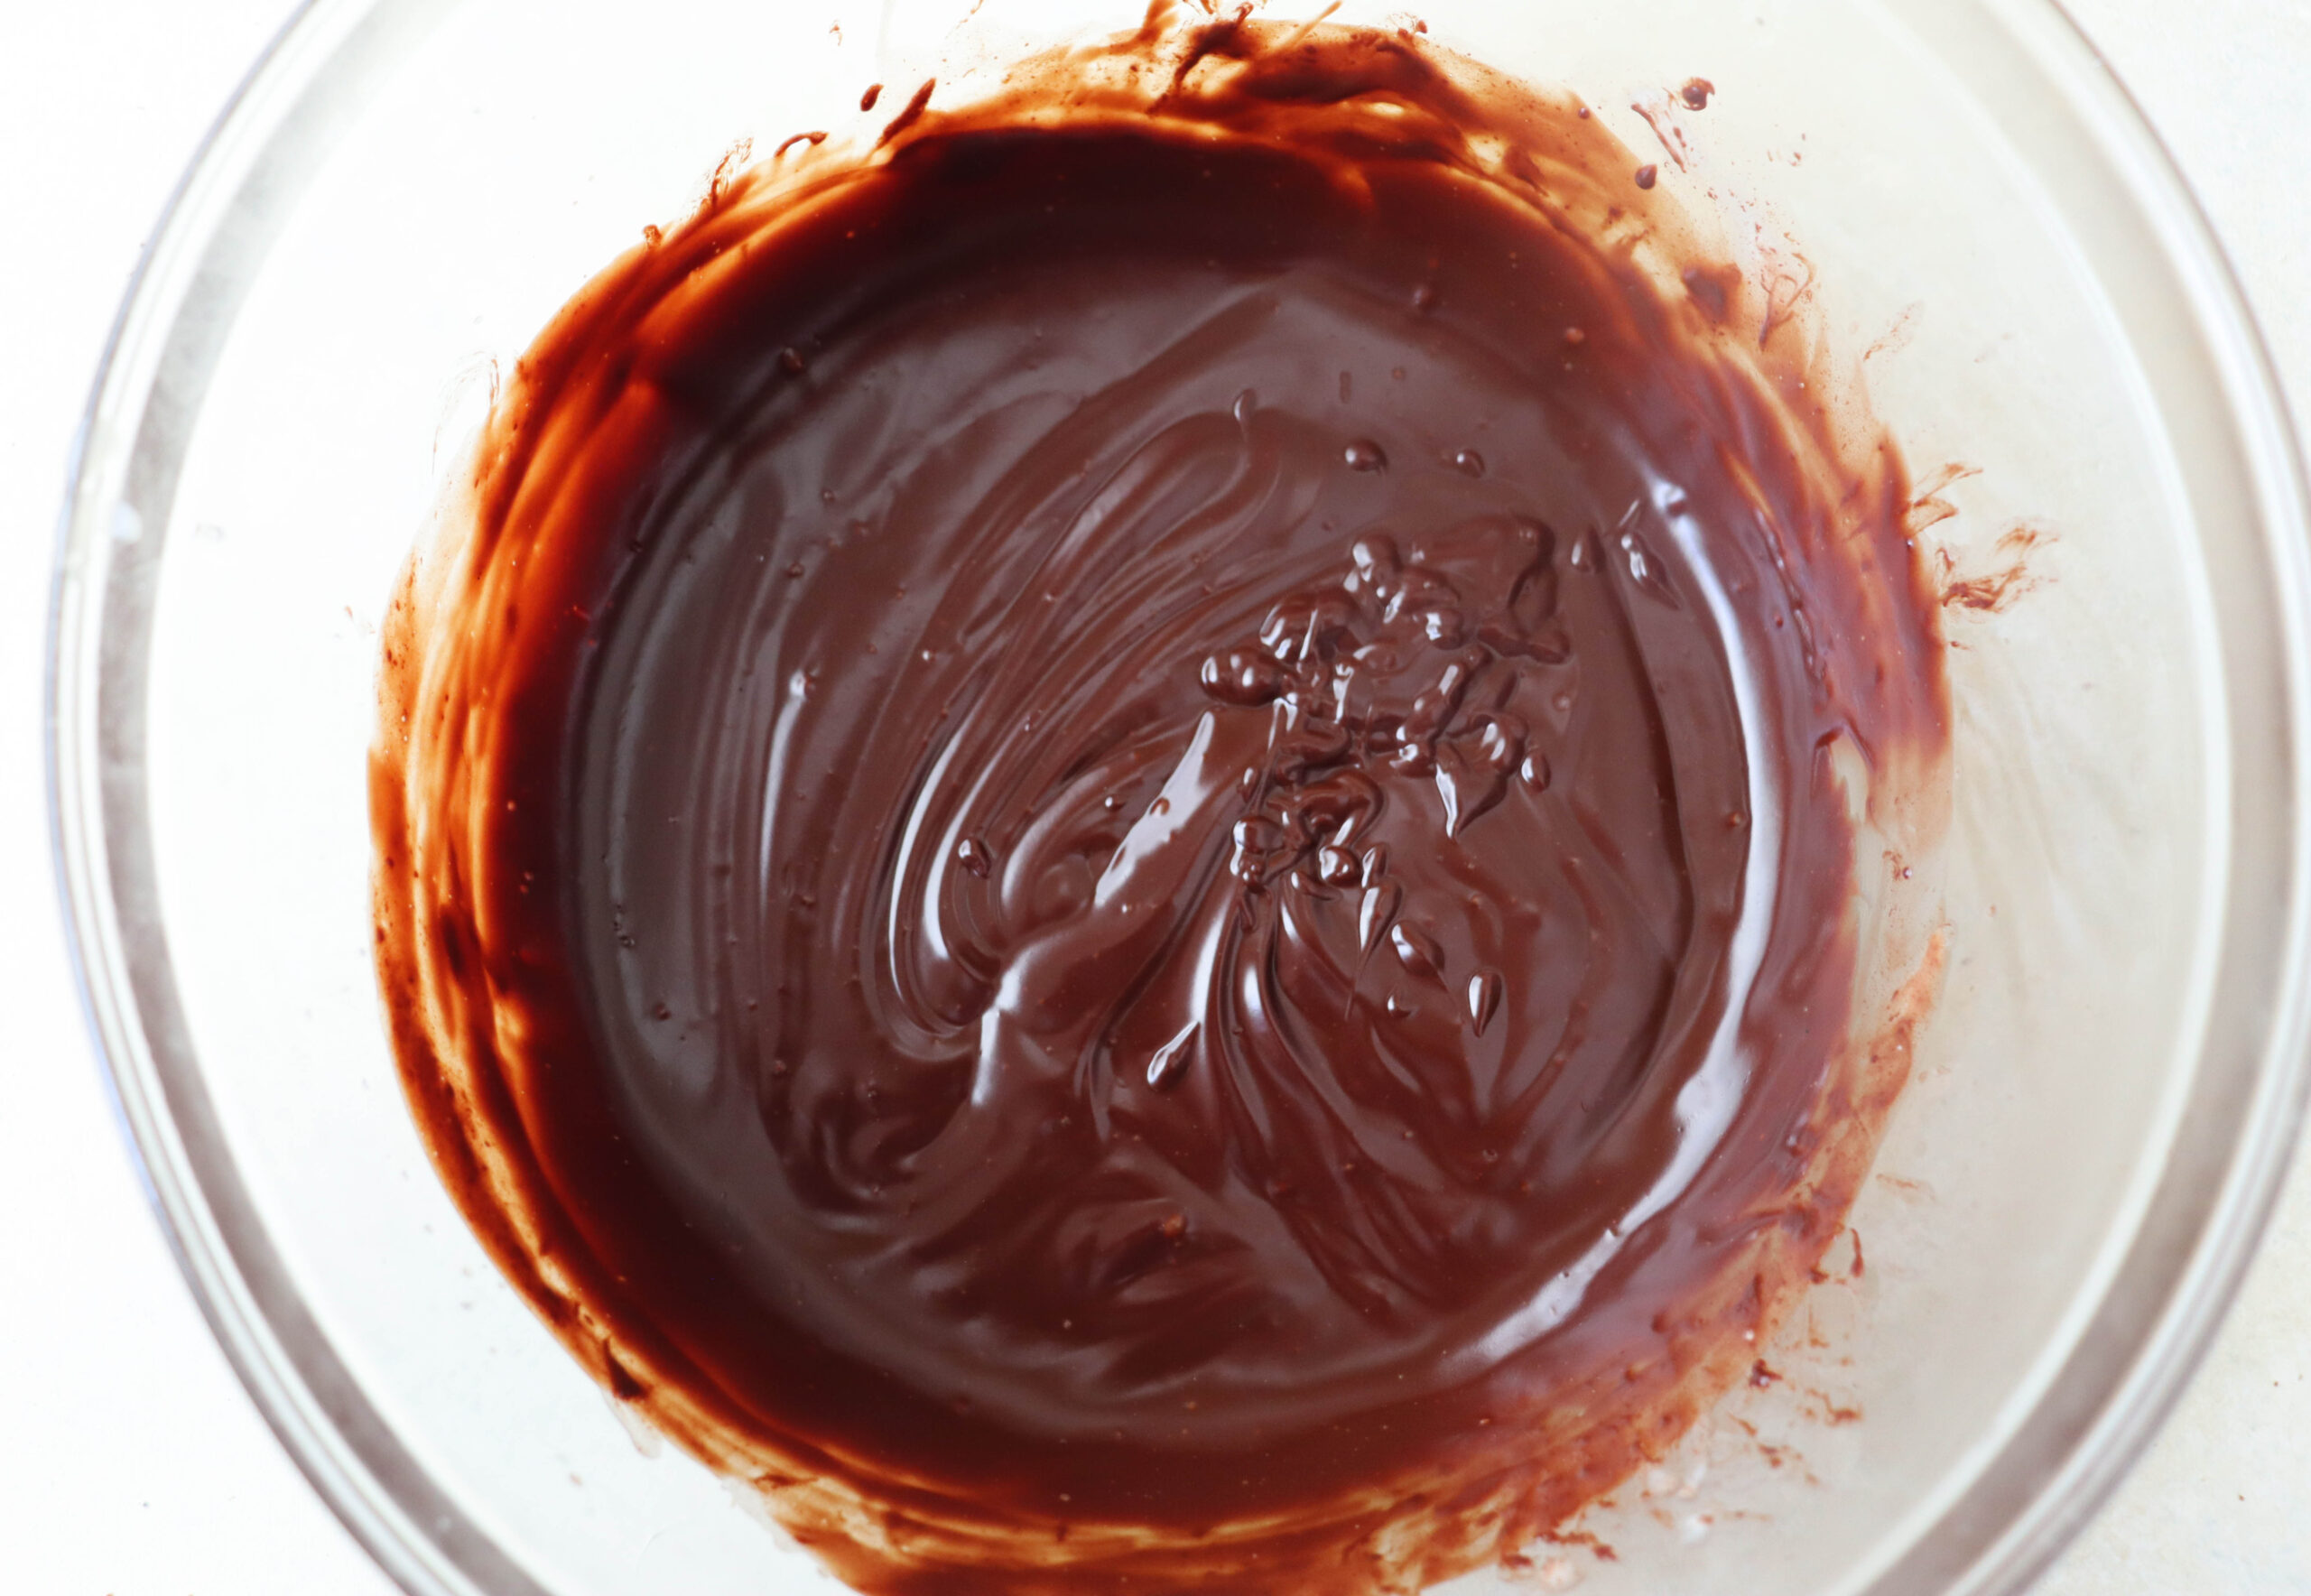
Preparing the Dark Chocolate Ganache to place on top of cake
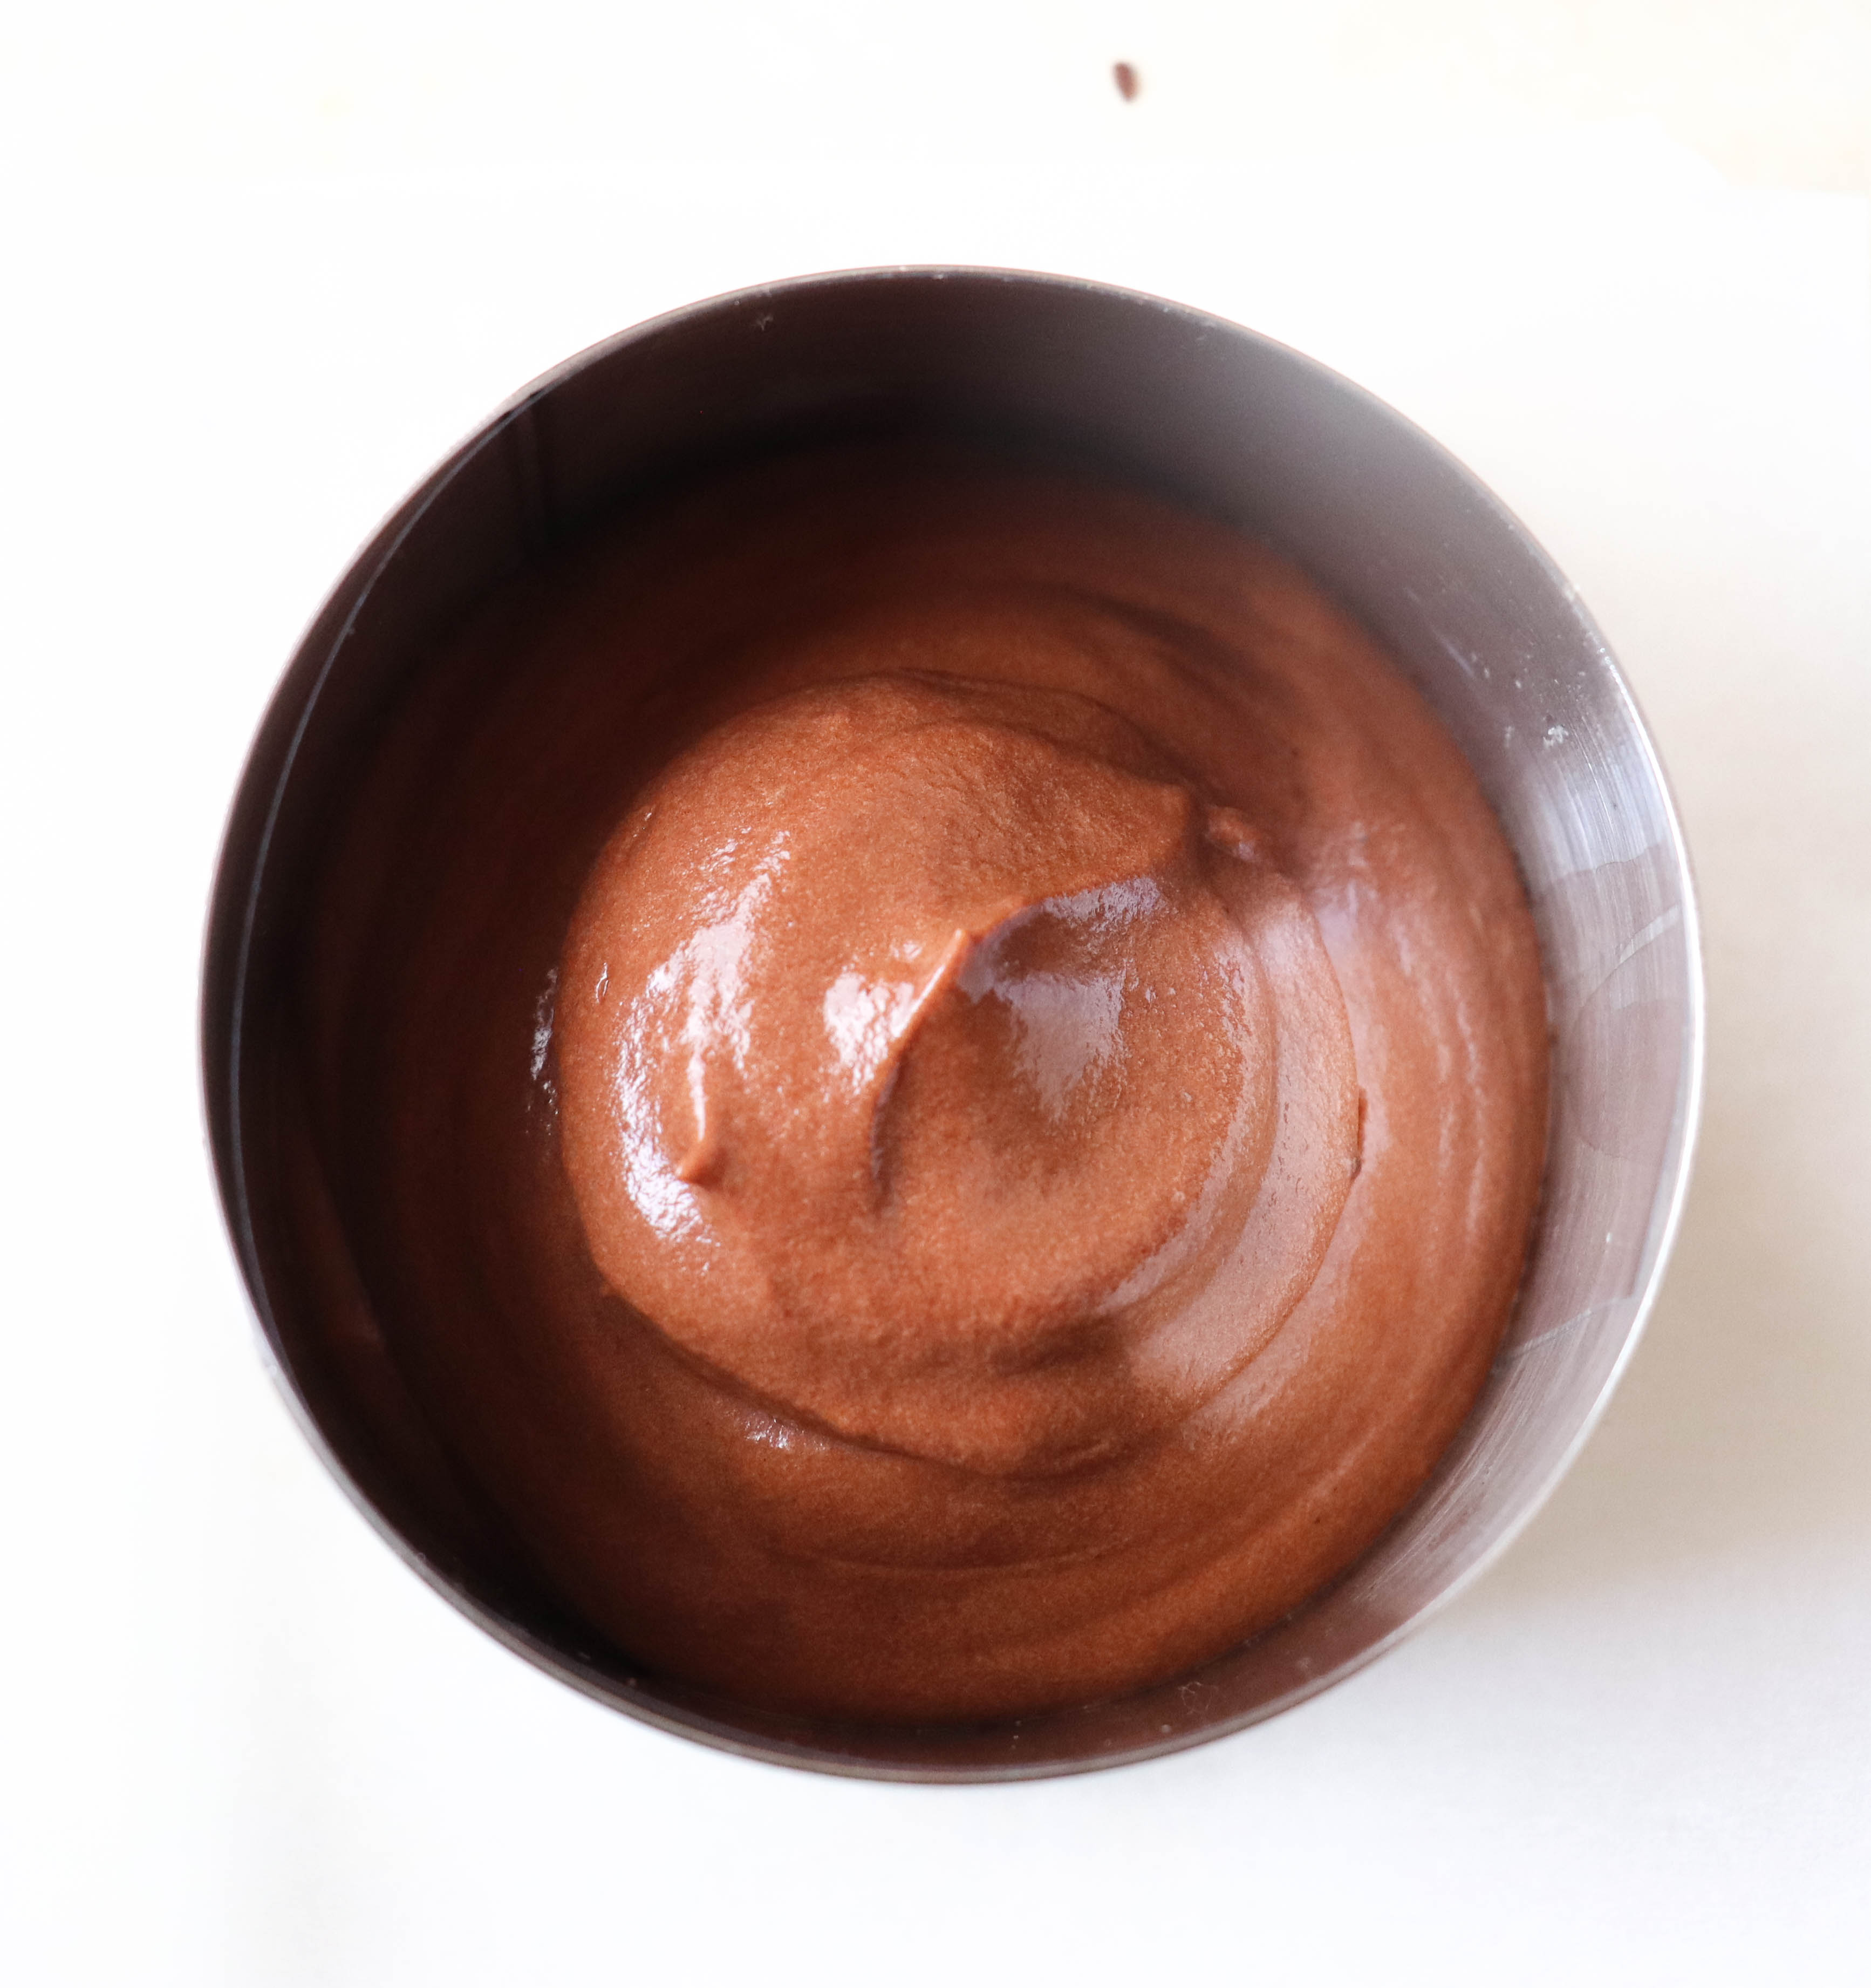
This ganache is rich and smooth, helped by the addition of butter and glucose into the batter. First, break up the dark chocolate and milk chocolate into small pieces and place into a heat-proof bowl. Combine the cream, sugar, and glucose (or corn syrup) in a medium-sized pan and bring to a boil. Pour 1/3 of the hot cream onto the chocolate and whisk until the chocolate starts to melt. Continue adding the cream in thirds until you’ve added all your cream and the mixture is shiny and smooth. Place the butter into a tall container or pitcher and pour the chocolate mixture over it. Using an immersion blender, mix the ingredients together until shiny, then pour into a large bowl or small casserole dish. Cover the ganache with plastic wrap so that it is touching the surface of the mixture. Let the ganache set at room temperature for 5-6 hours or cut the time in half by chilling in the fridge.
Tip: Adding the hot cream onto the chocolate in thirds helps to prevent the ganache from splitting.
Ganache after it has set

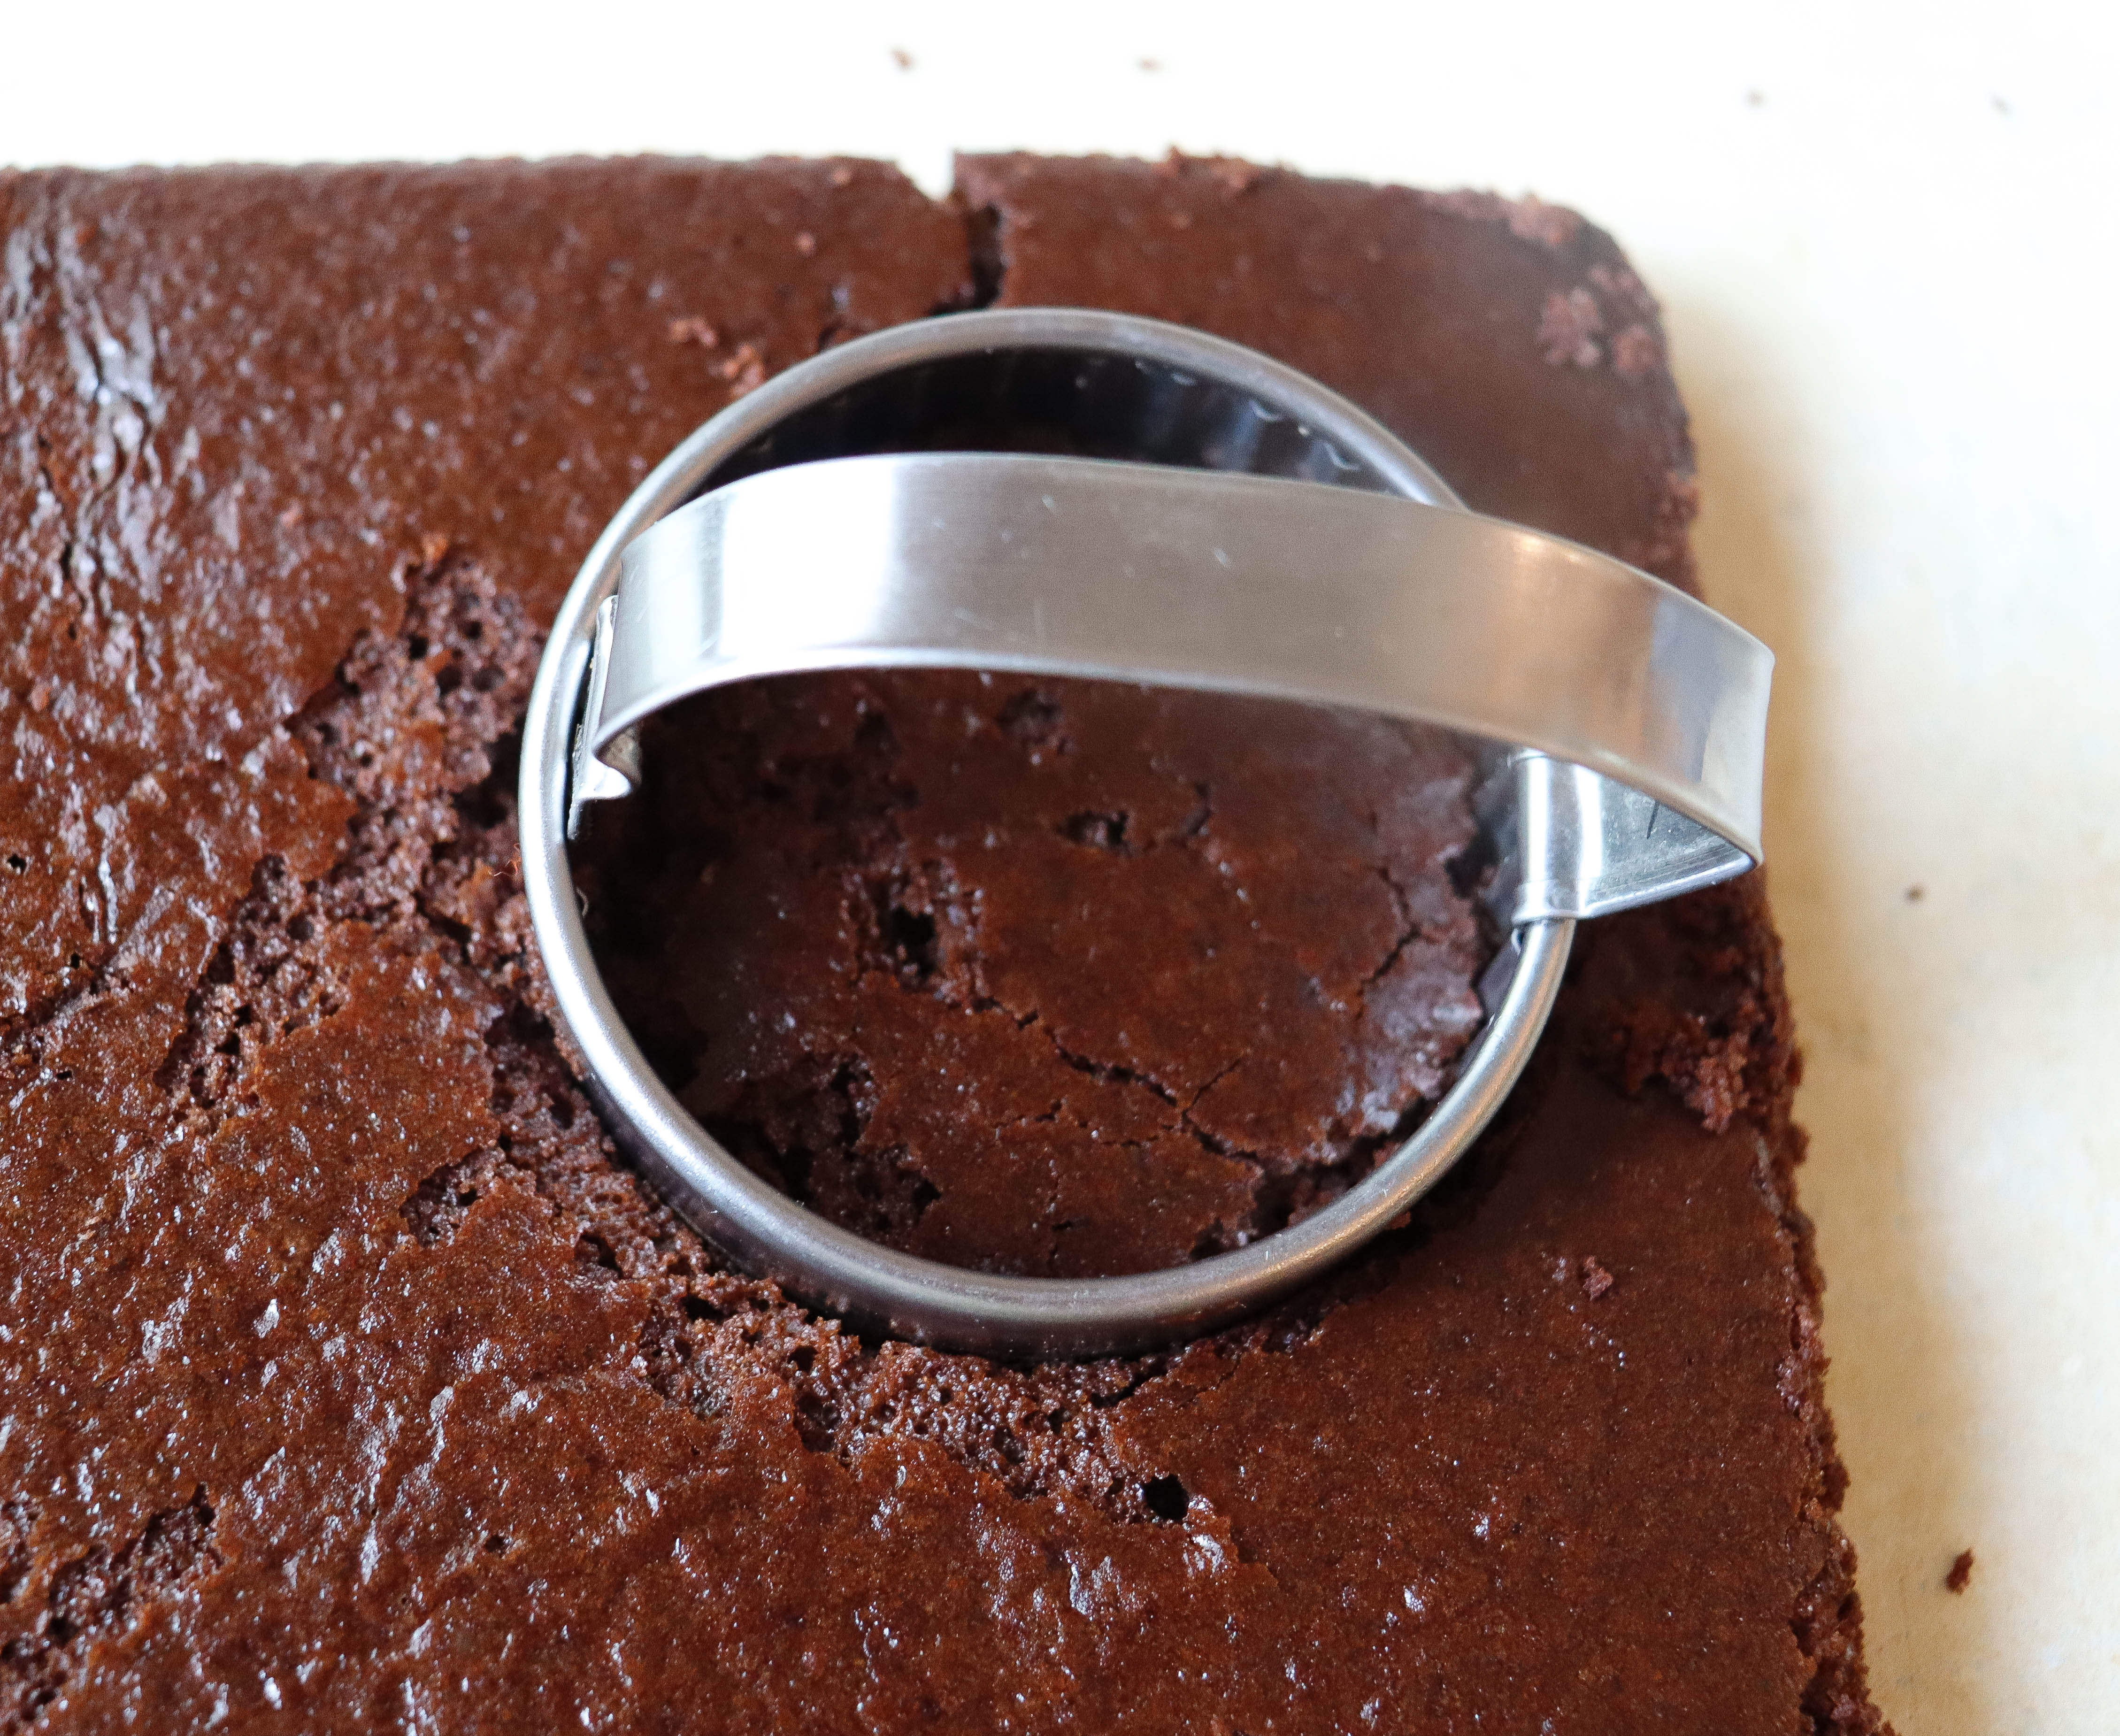
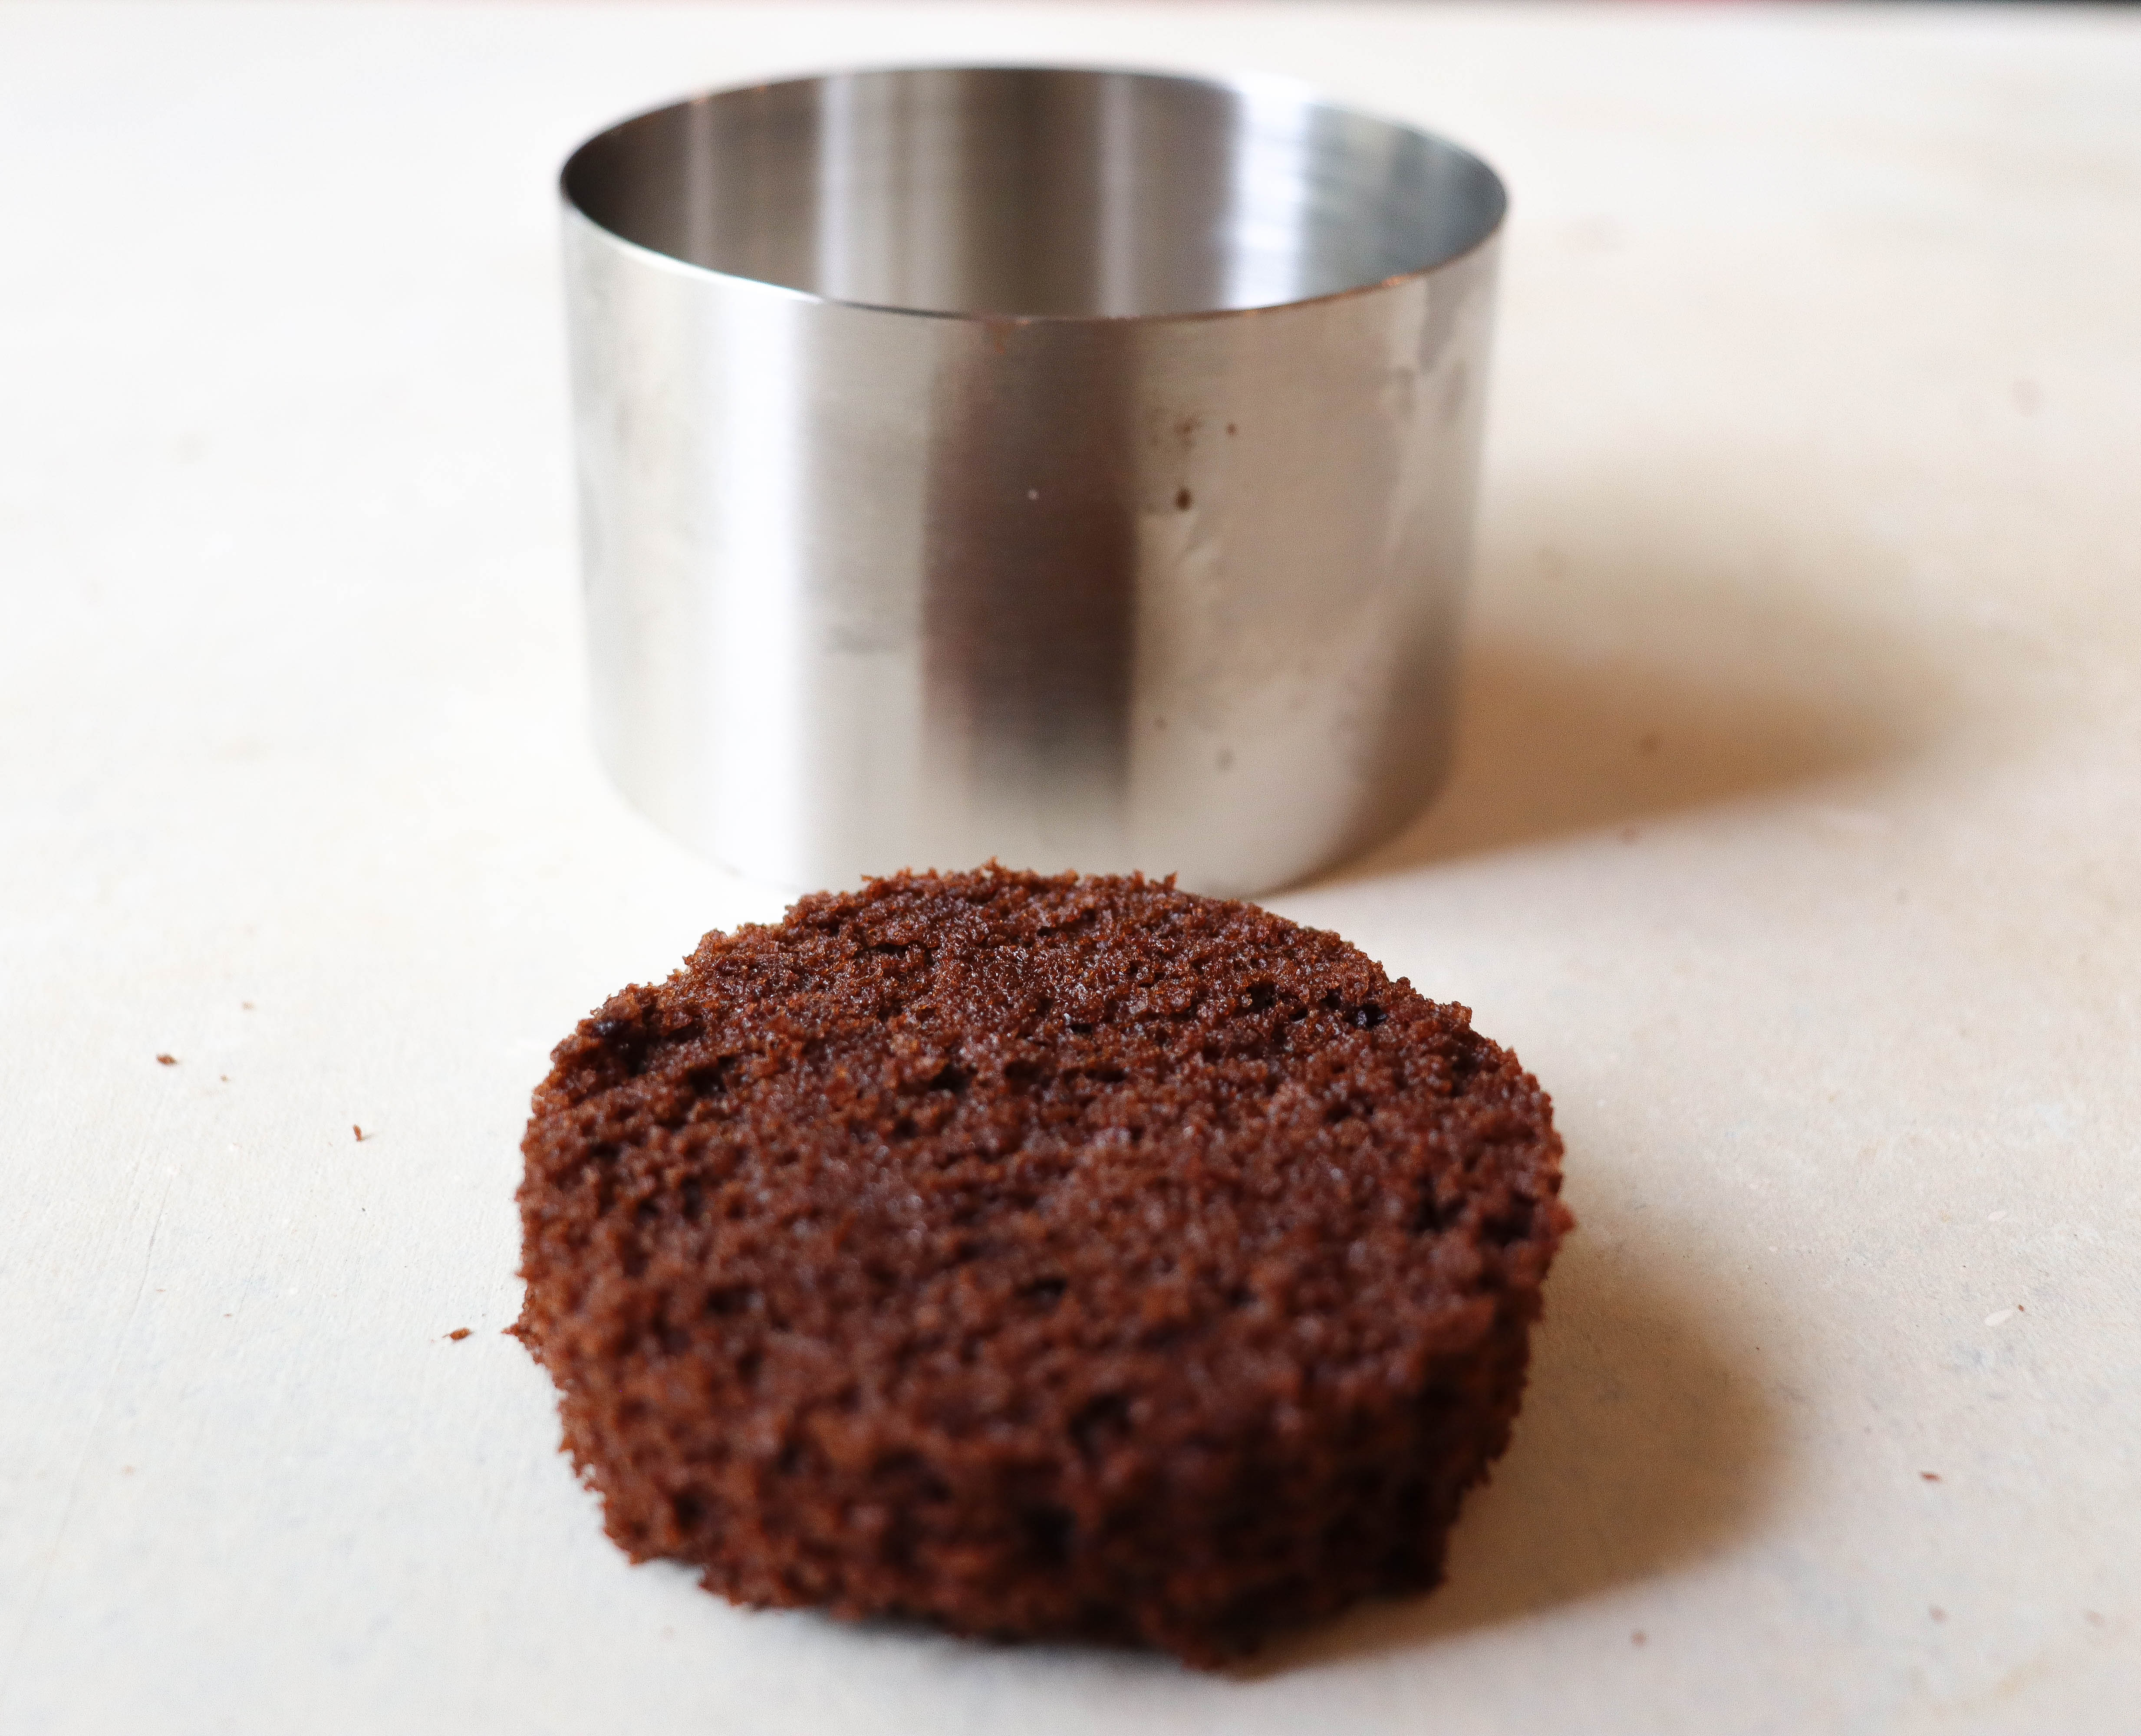
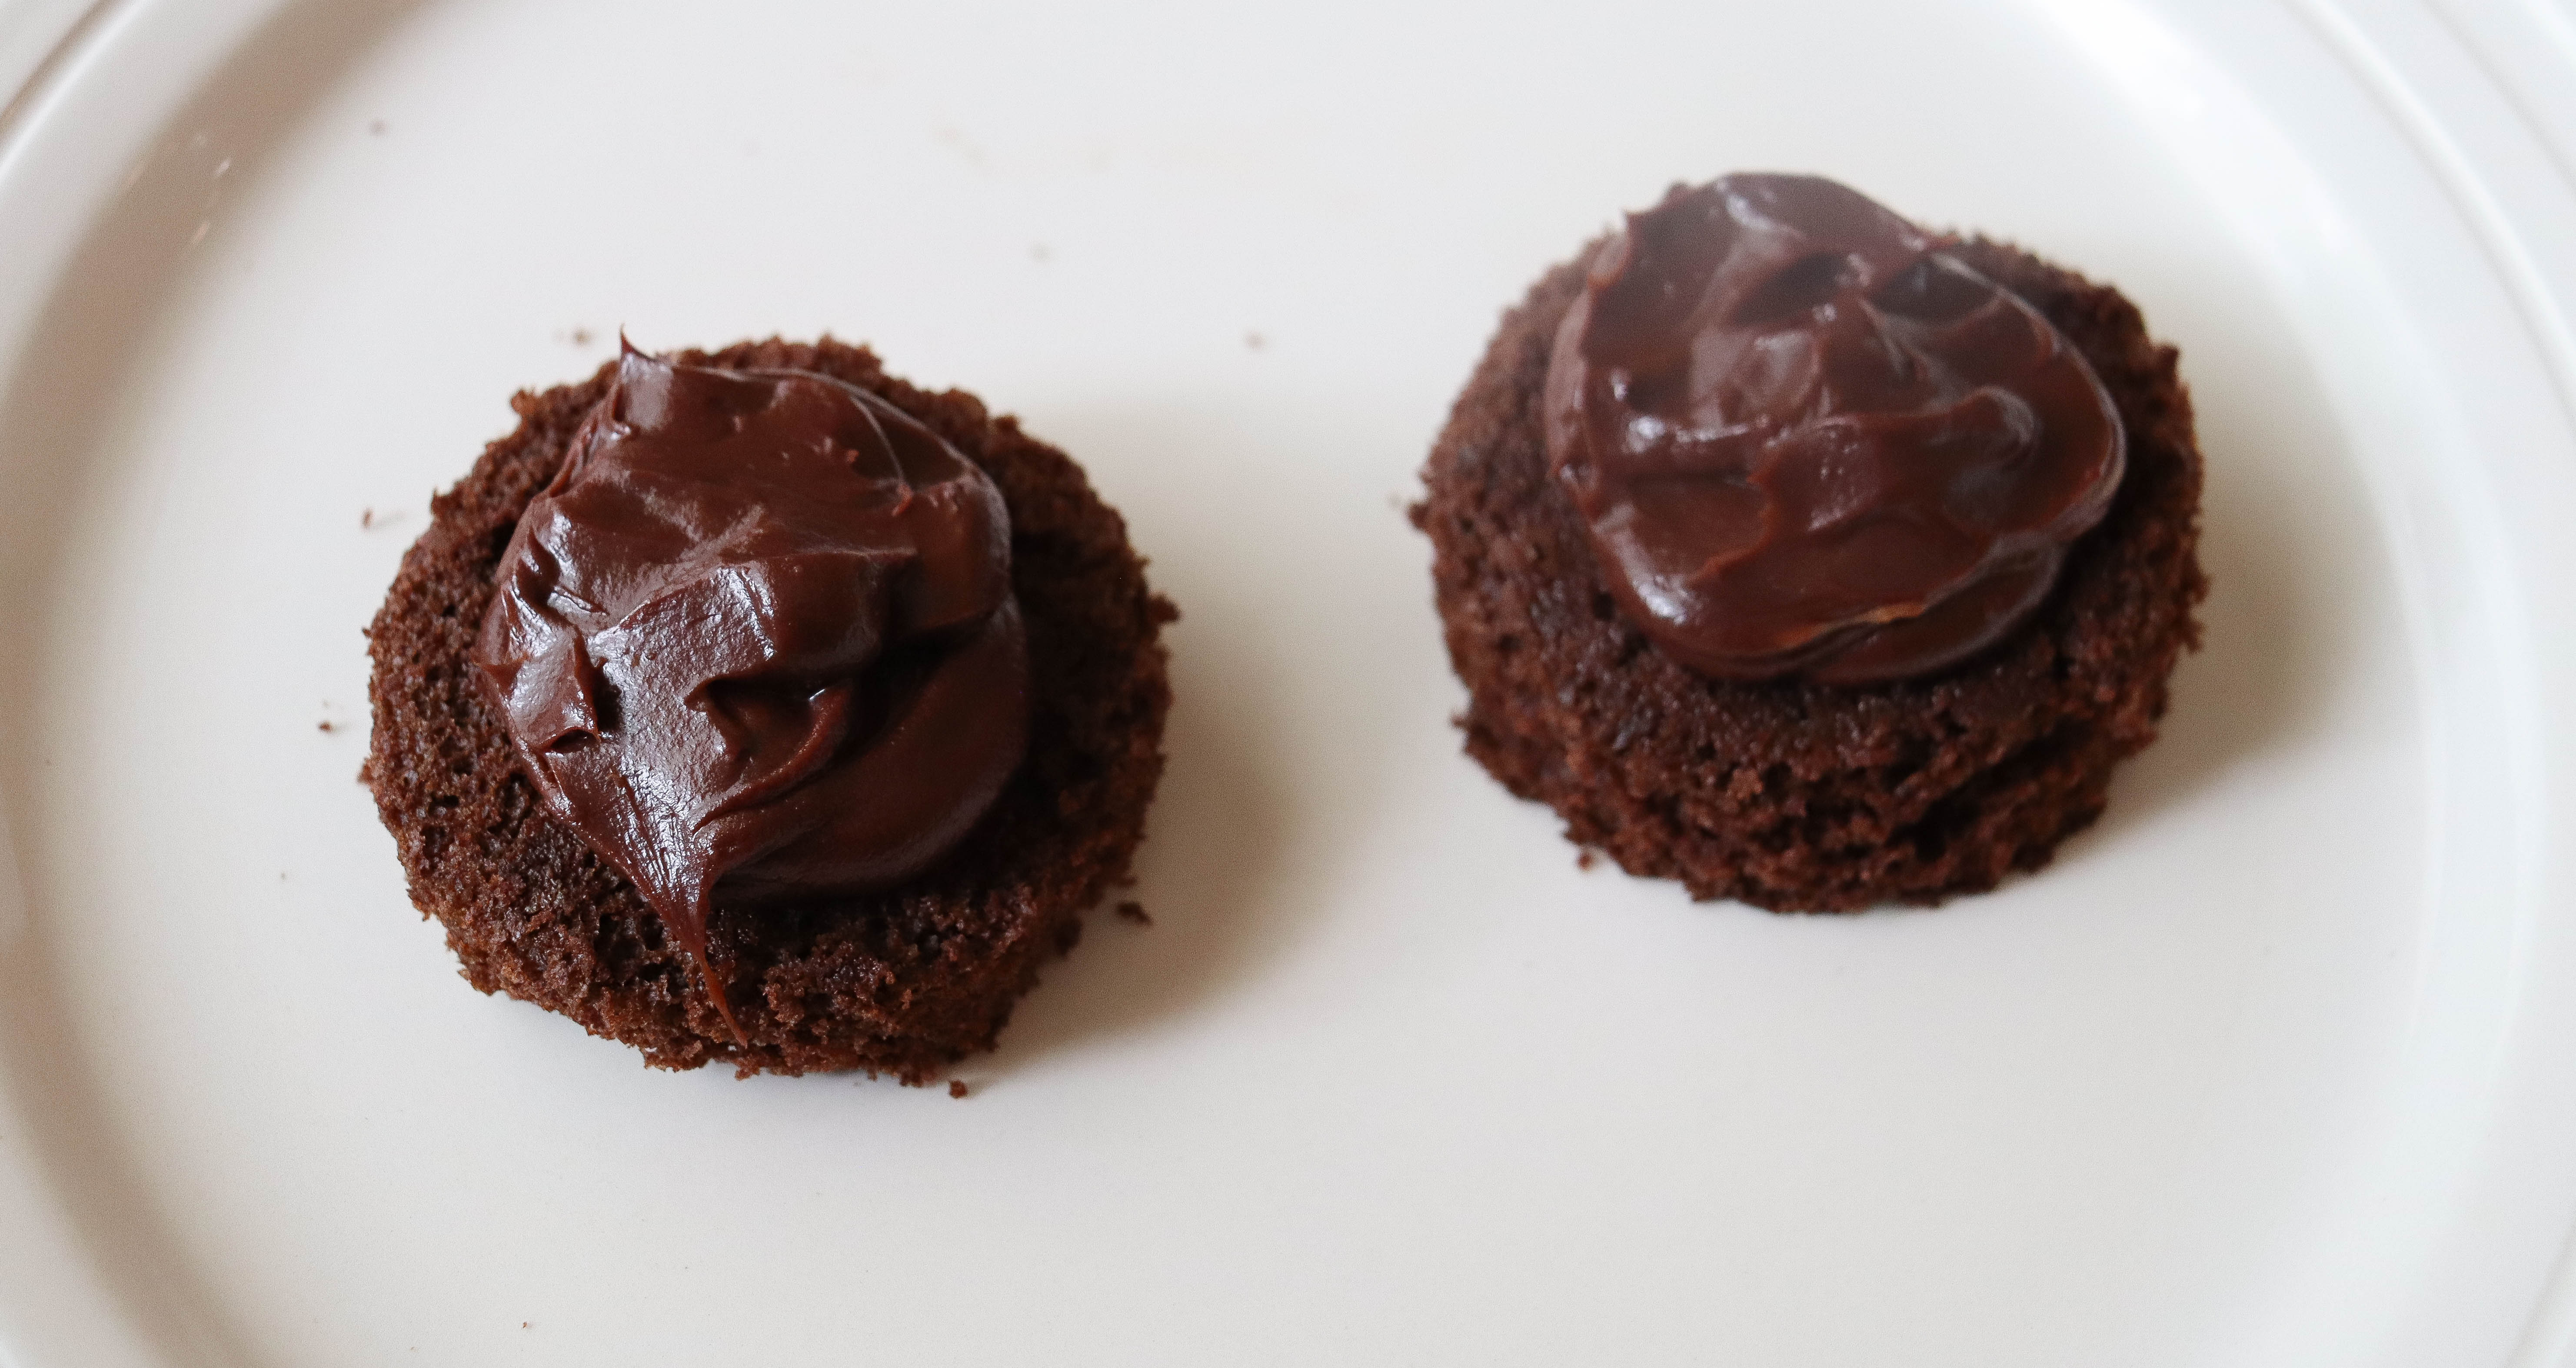
After the ganache has set, remove cake from freezer. Using a 3-inch cake cutter, cut small cake rounds that measure about 1/4 of the height of your cake ring/entremet mold you are using. If necessary, trim the height of your cake rounds.
Place the chocolate ganache into a piping bag and pipe several teaspoons onto the center of each cake round. Freeze the cake rounds for at least one hour while you continue onto the next step.
Preparing the Chocolate Mousse
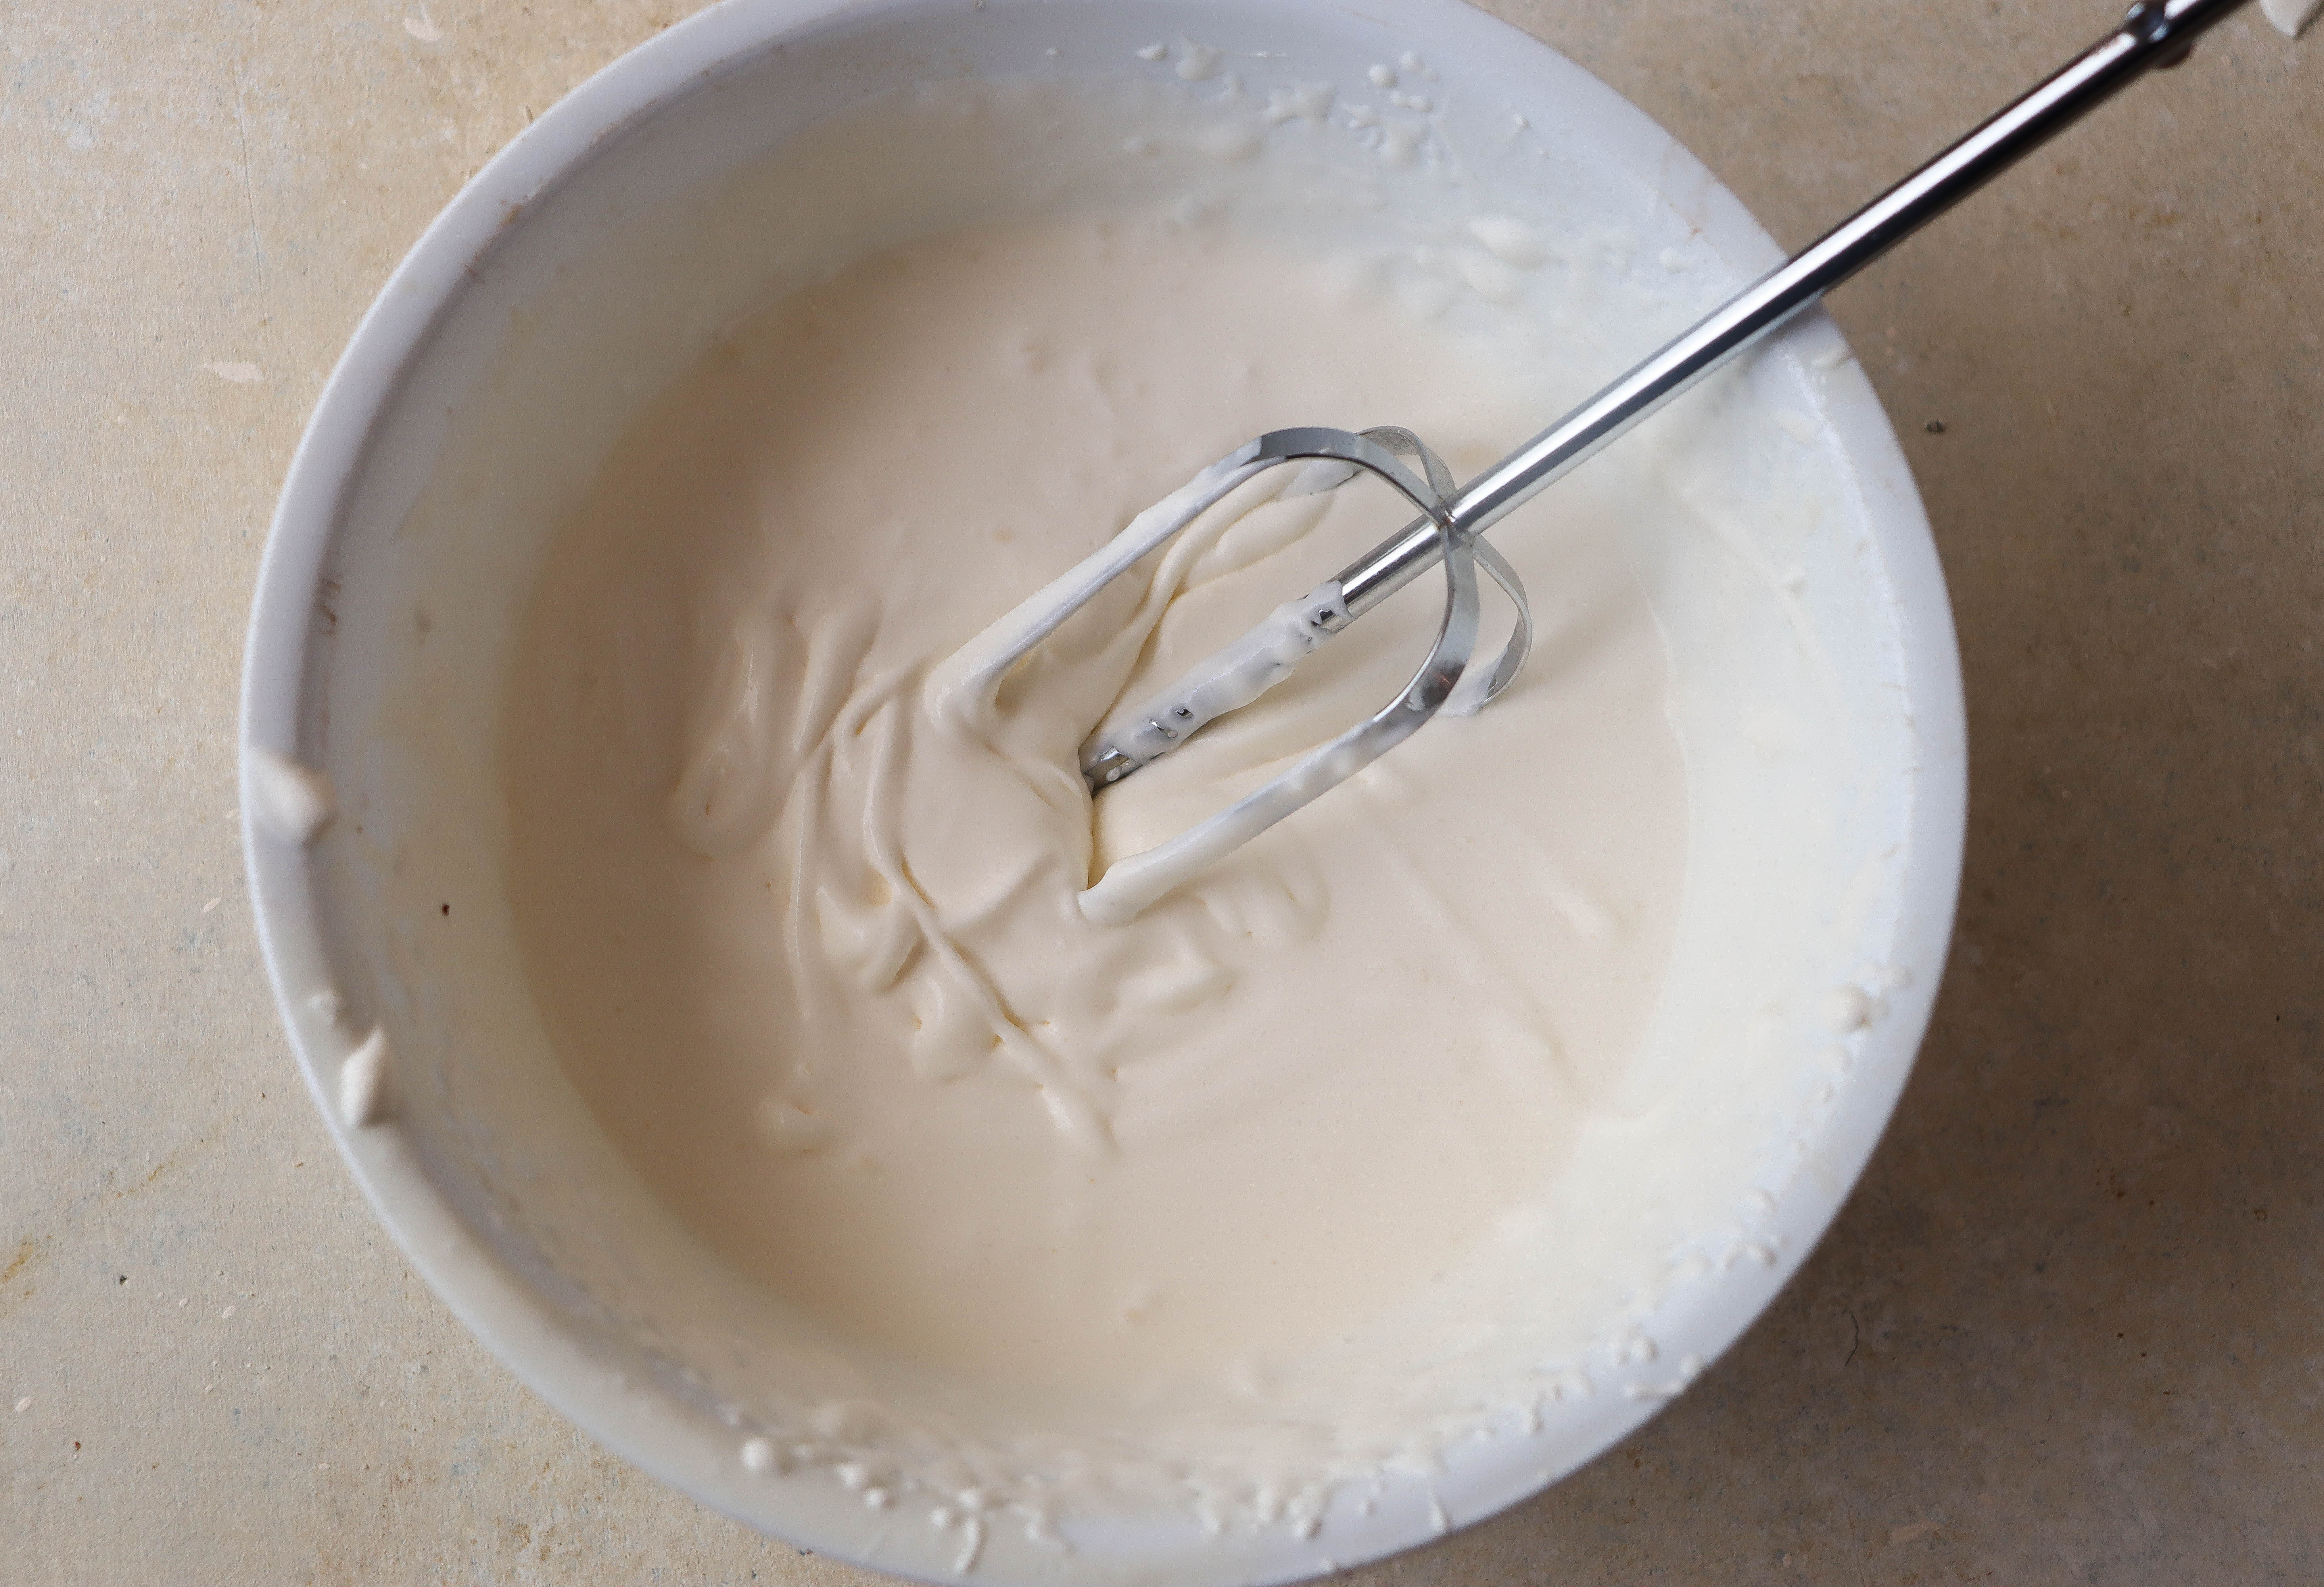
This is an important step since the Mousse will fill a major part of the cake mold. First, whisk the cream until soft peaks form: this can be done either by hand or using an electric mixer; set aside. Next, break up the dark chocolate into smaller pieces into a heat-proof bowl, then heat the whipping cream until it starts to boil. Pour the hot cream over the chocolate in thirds, whisking vigorously after each addition. The ganache should be smooth and shiny.
Whip cream to soft peak stage Make ganache using hot cream and chocolate
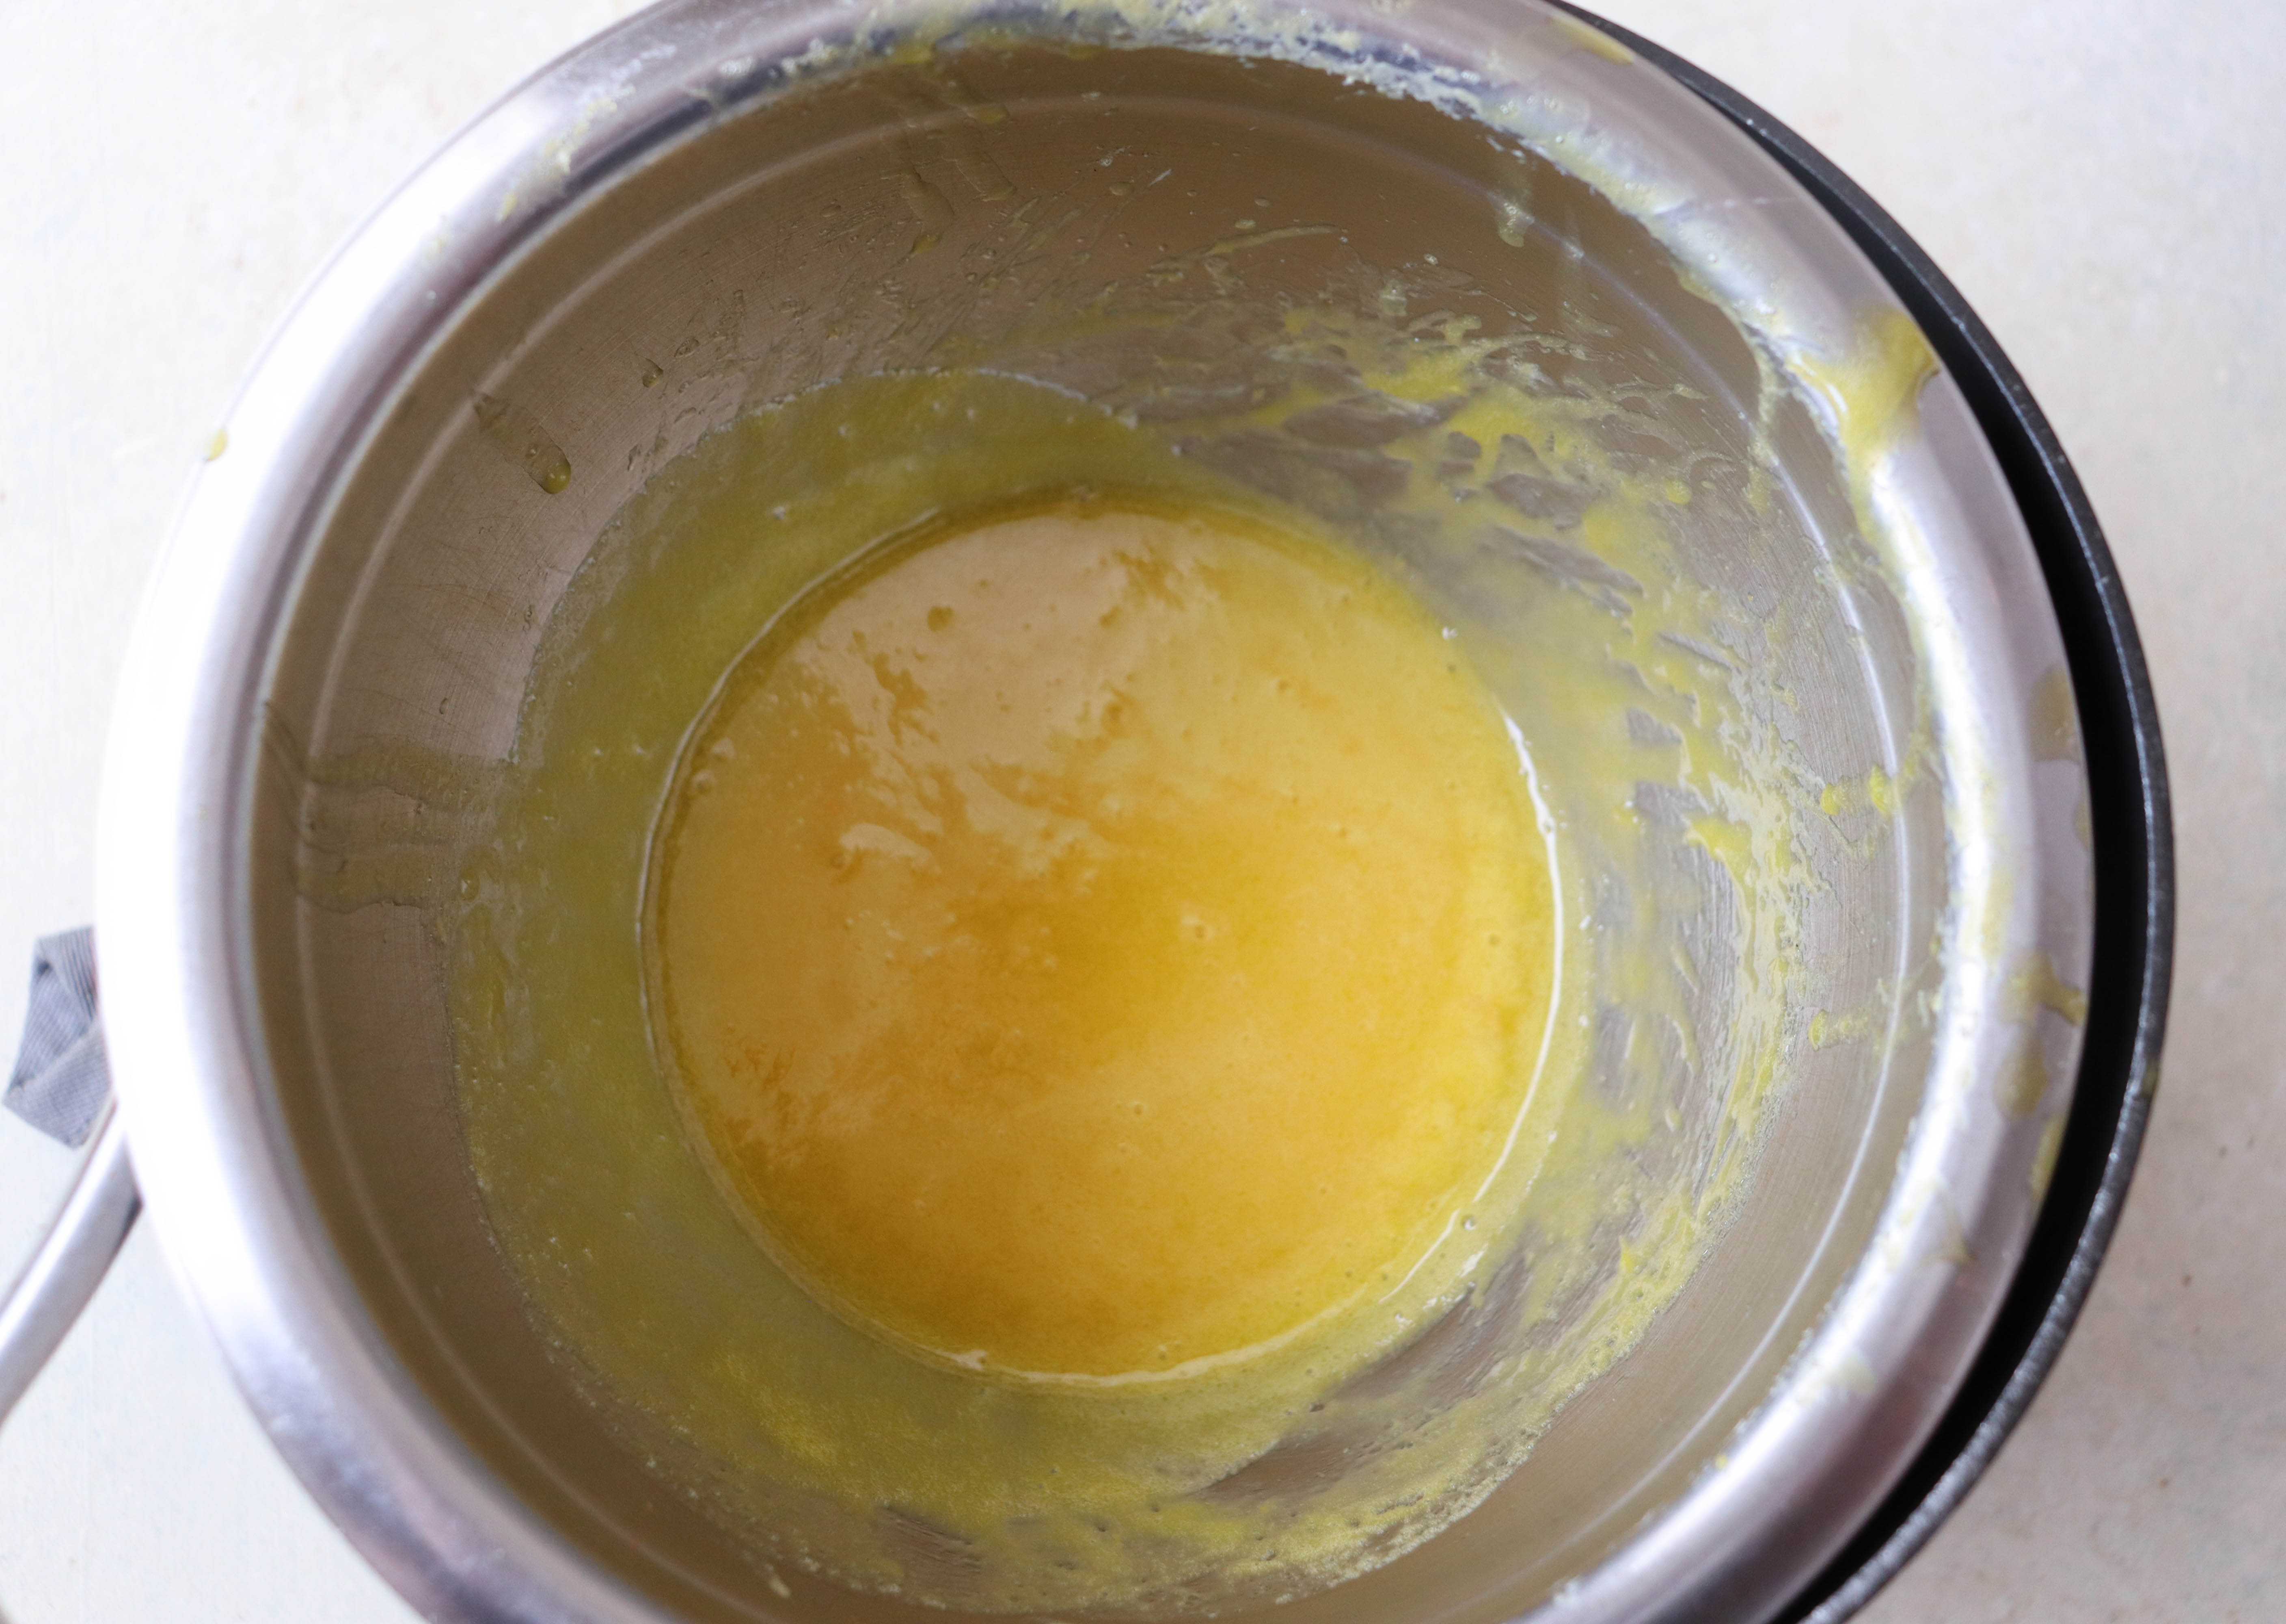
Next, place your three egg yolks in a heatproof bowl and set aside. Place the water and sugar in a saucepan and heat to 244 F (118 C). Gradually pour the hot mixture over the egg yolks while whisking continuously with an electric mixer. Continue until the mixture has reached the ‘ribbon stage’; the texture has thickened and the color has now changed to a lighter yellow color.
Next, combine all three components together to form the Mousse: first, transfer the whipped cream into the bowl of the chocolate ganache to lighten up the texture of the ganache. Then transfer the egg yolk mixture into the mixed chocolate ganache and fold it in until fully combined.

Next, line your metal cake rings with acetate. I cut my acetate in strips measuring 2-inches by 11-inches to fit my 2 x 10-inch cake ring (allowing for a 1-inch overlap around the circumference).
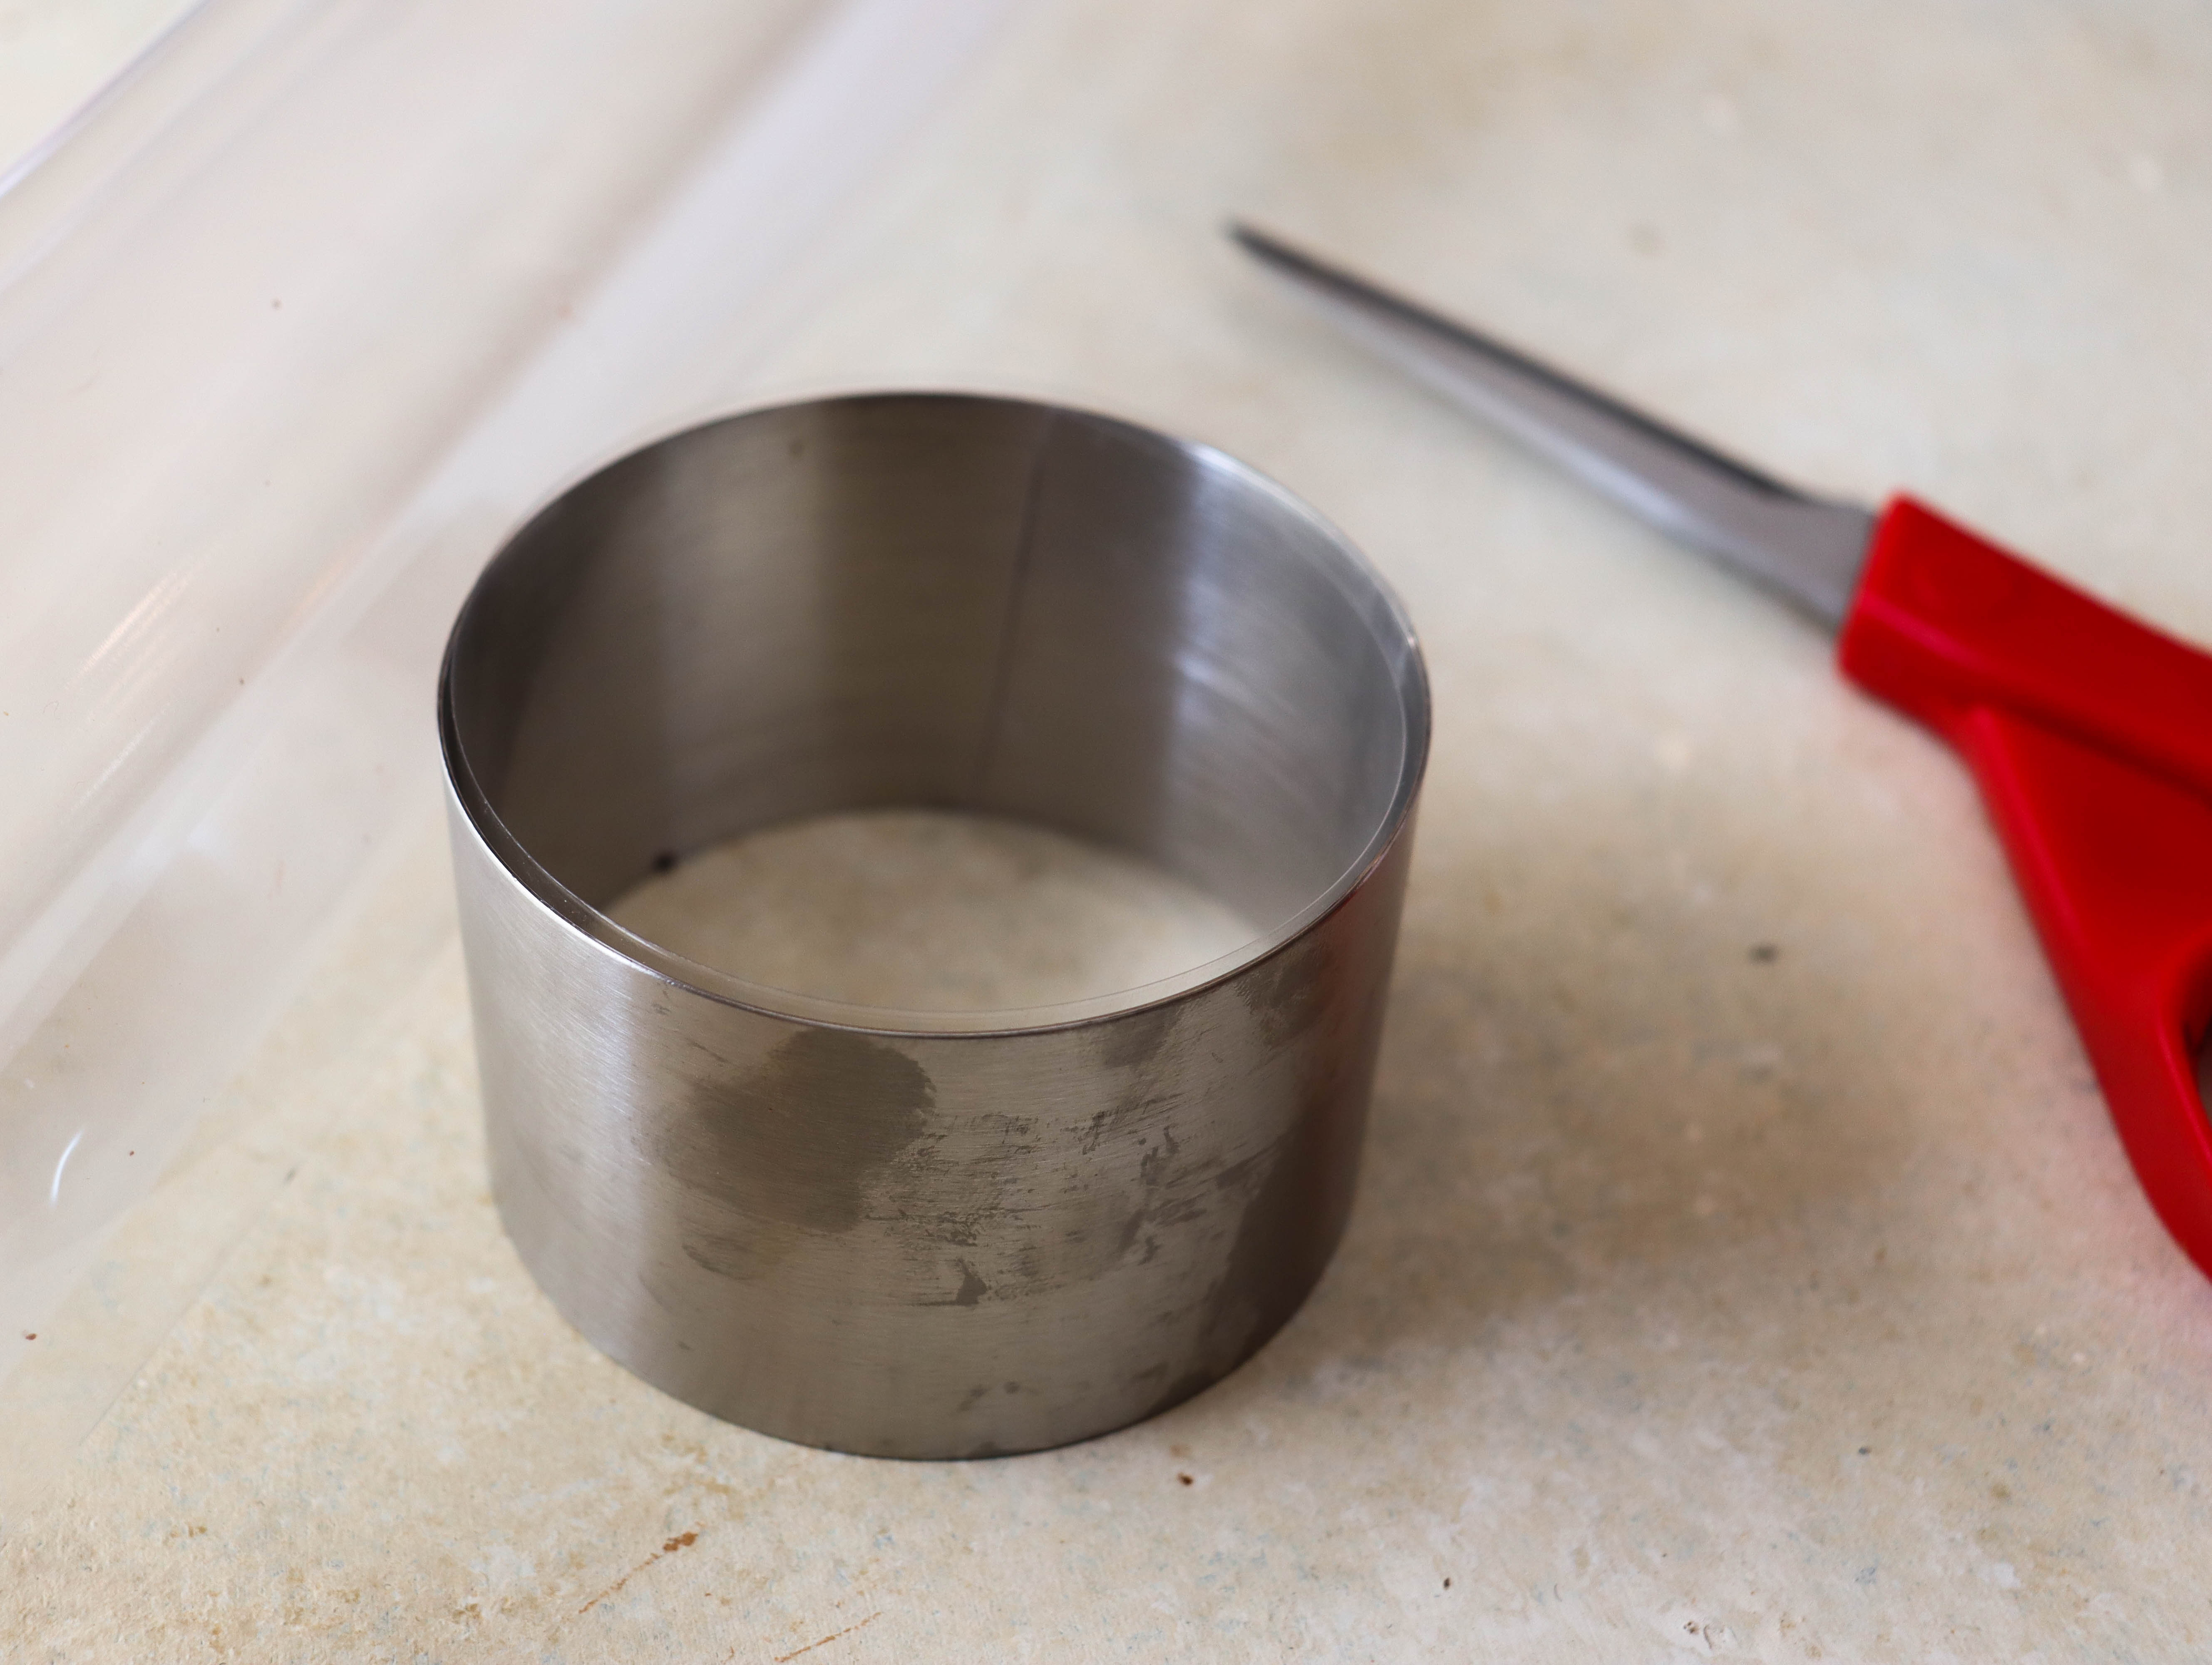
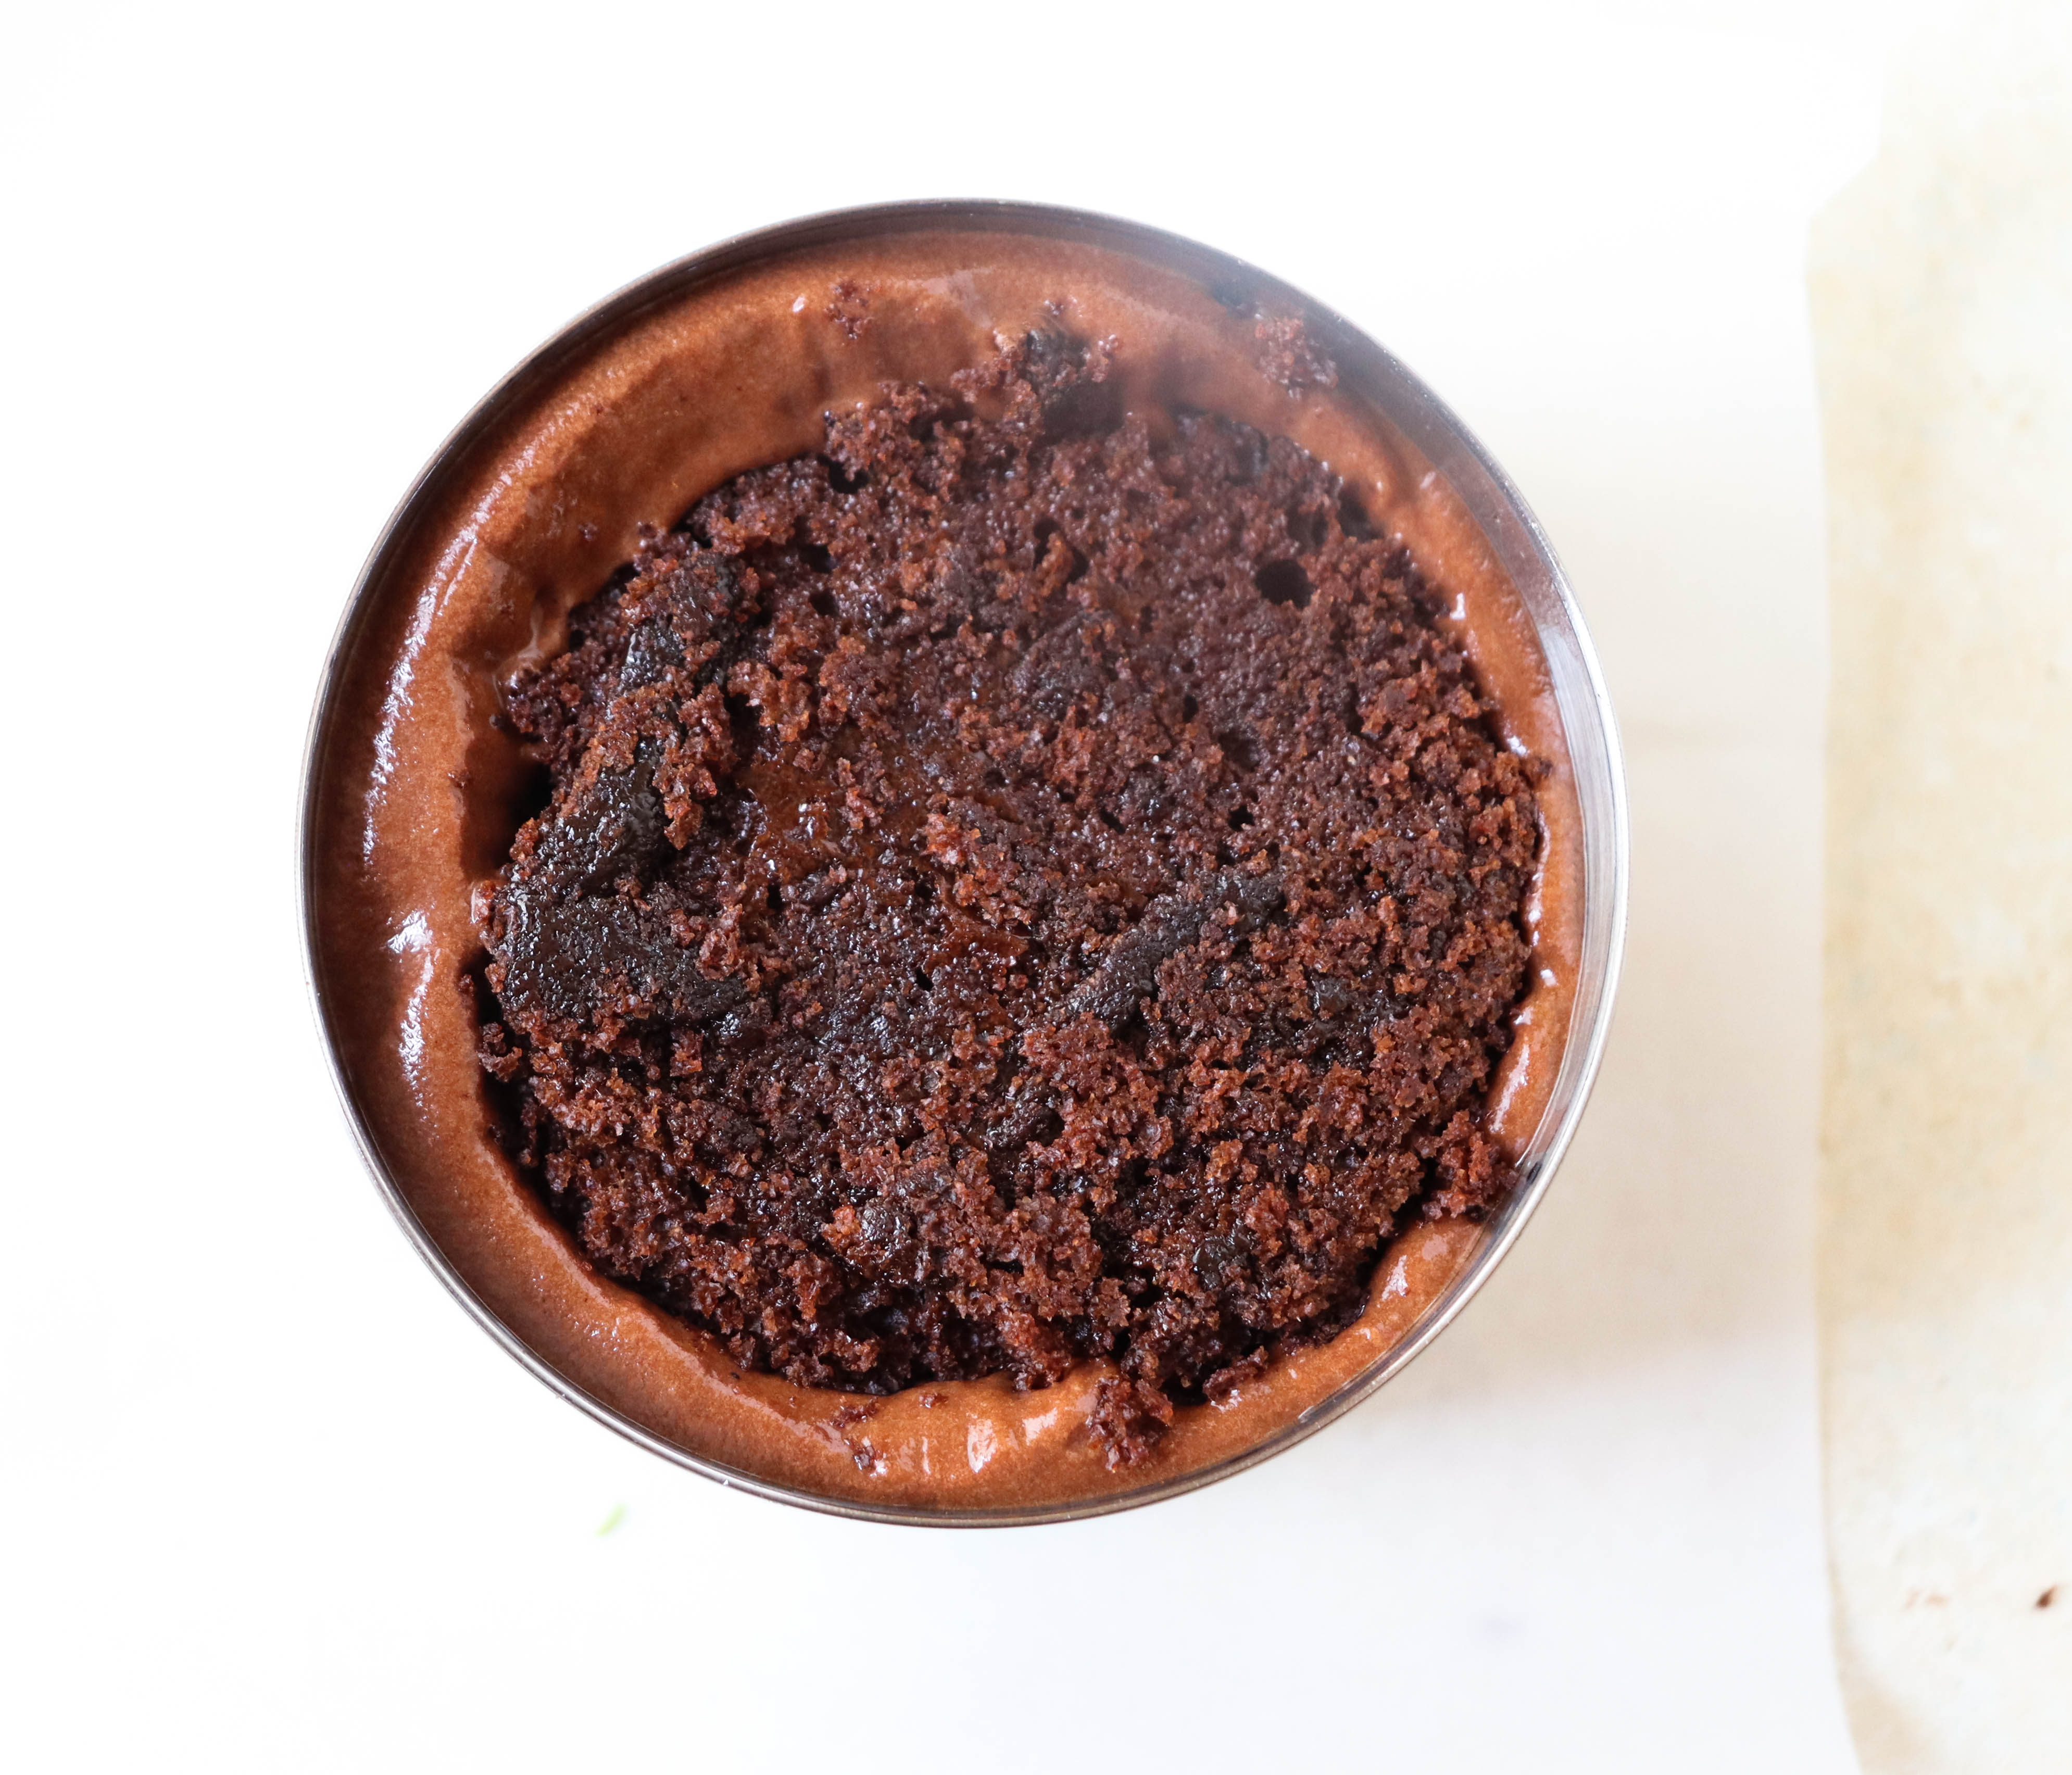
Coat the inside of each cake ring with cooking spray. Place the Mousse into a piping bag and pipe into each cake mold ending about 3/4 from the top. Next, take each frozen cake round topped with the ganache and gently press it into the mousse-filled mold with the ganache facing down (cake is facing on top). The mousse will begin to fill around the edges to the top. Flatten out the mousse and scrape any excess off the top. Place the molds in the freezer for at least three hours or preferably overnight.
Fill Chocolate Mousse 3/4 to the top of ring Press cake topped with ganache into the mousse-filled mold
Preparing the Chocolate Glaze
The trick to making a perfect glaze is making sure the temperature reaches 104 F (40 C) before pouring it onto the cake. Otherwise it will be too runny or too thick to spread evenly.
First, place your gelatin sheets in a bowl of cold water for about 5 minutes to soften. Heat the water, sugar, and a few drops of red food gel on the stovetop until the mixture reaches 222 F (106 C). In a separate bowl, mix the glucose (or corn syrup) and cream together then microwave for one minute until warm. Now pour this into the pan holding the sugar/water mixture, whisking continuously, then bring to a boil. Add the cocoa powder, remove from the heat and continue to mix.
Squeeze out the excess moisture from the gelatin leaves, then place in a pitcher or large measuring cup. Pour the sugar/cocoa mixture on top of the gelatin and mix with an immersion blender until all bubbles are gone. (If there is too much glaze to fit into one container, you can divide it into two receptacles). Let temperature reduce to 104 F (40 C) while preparing your cake molds.
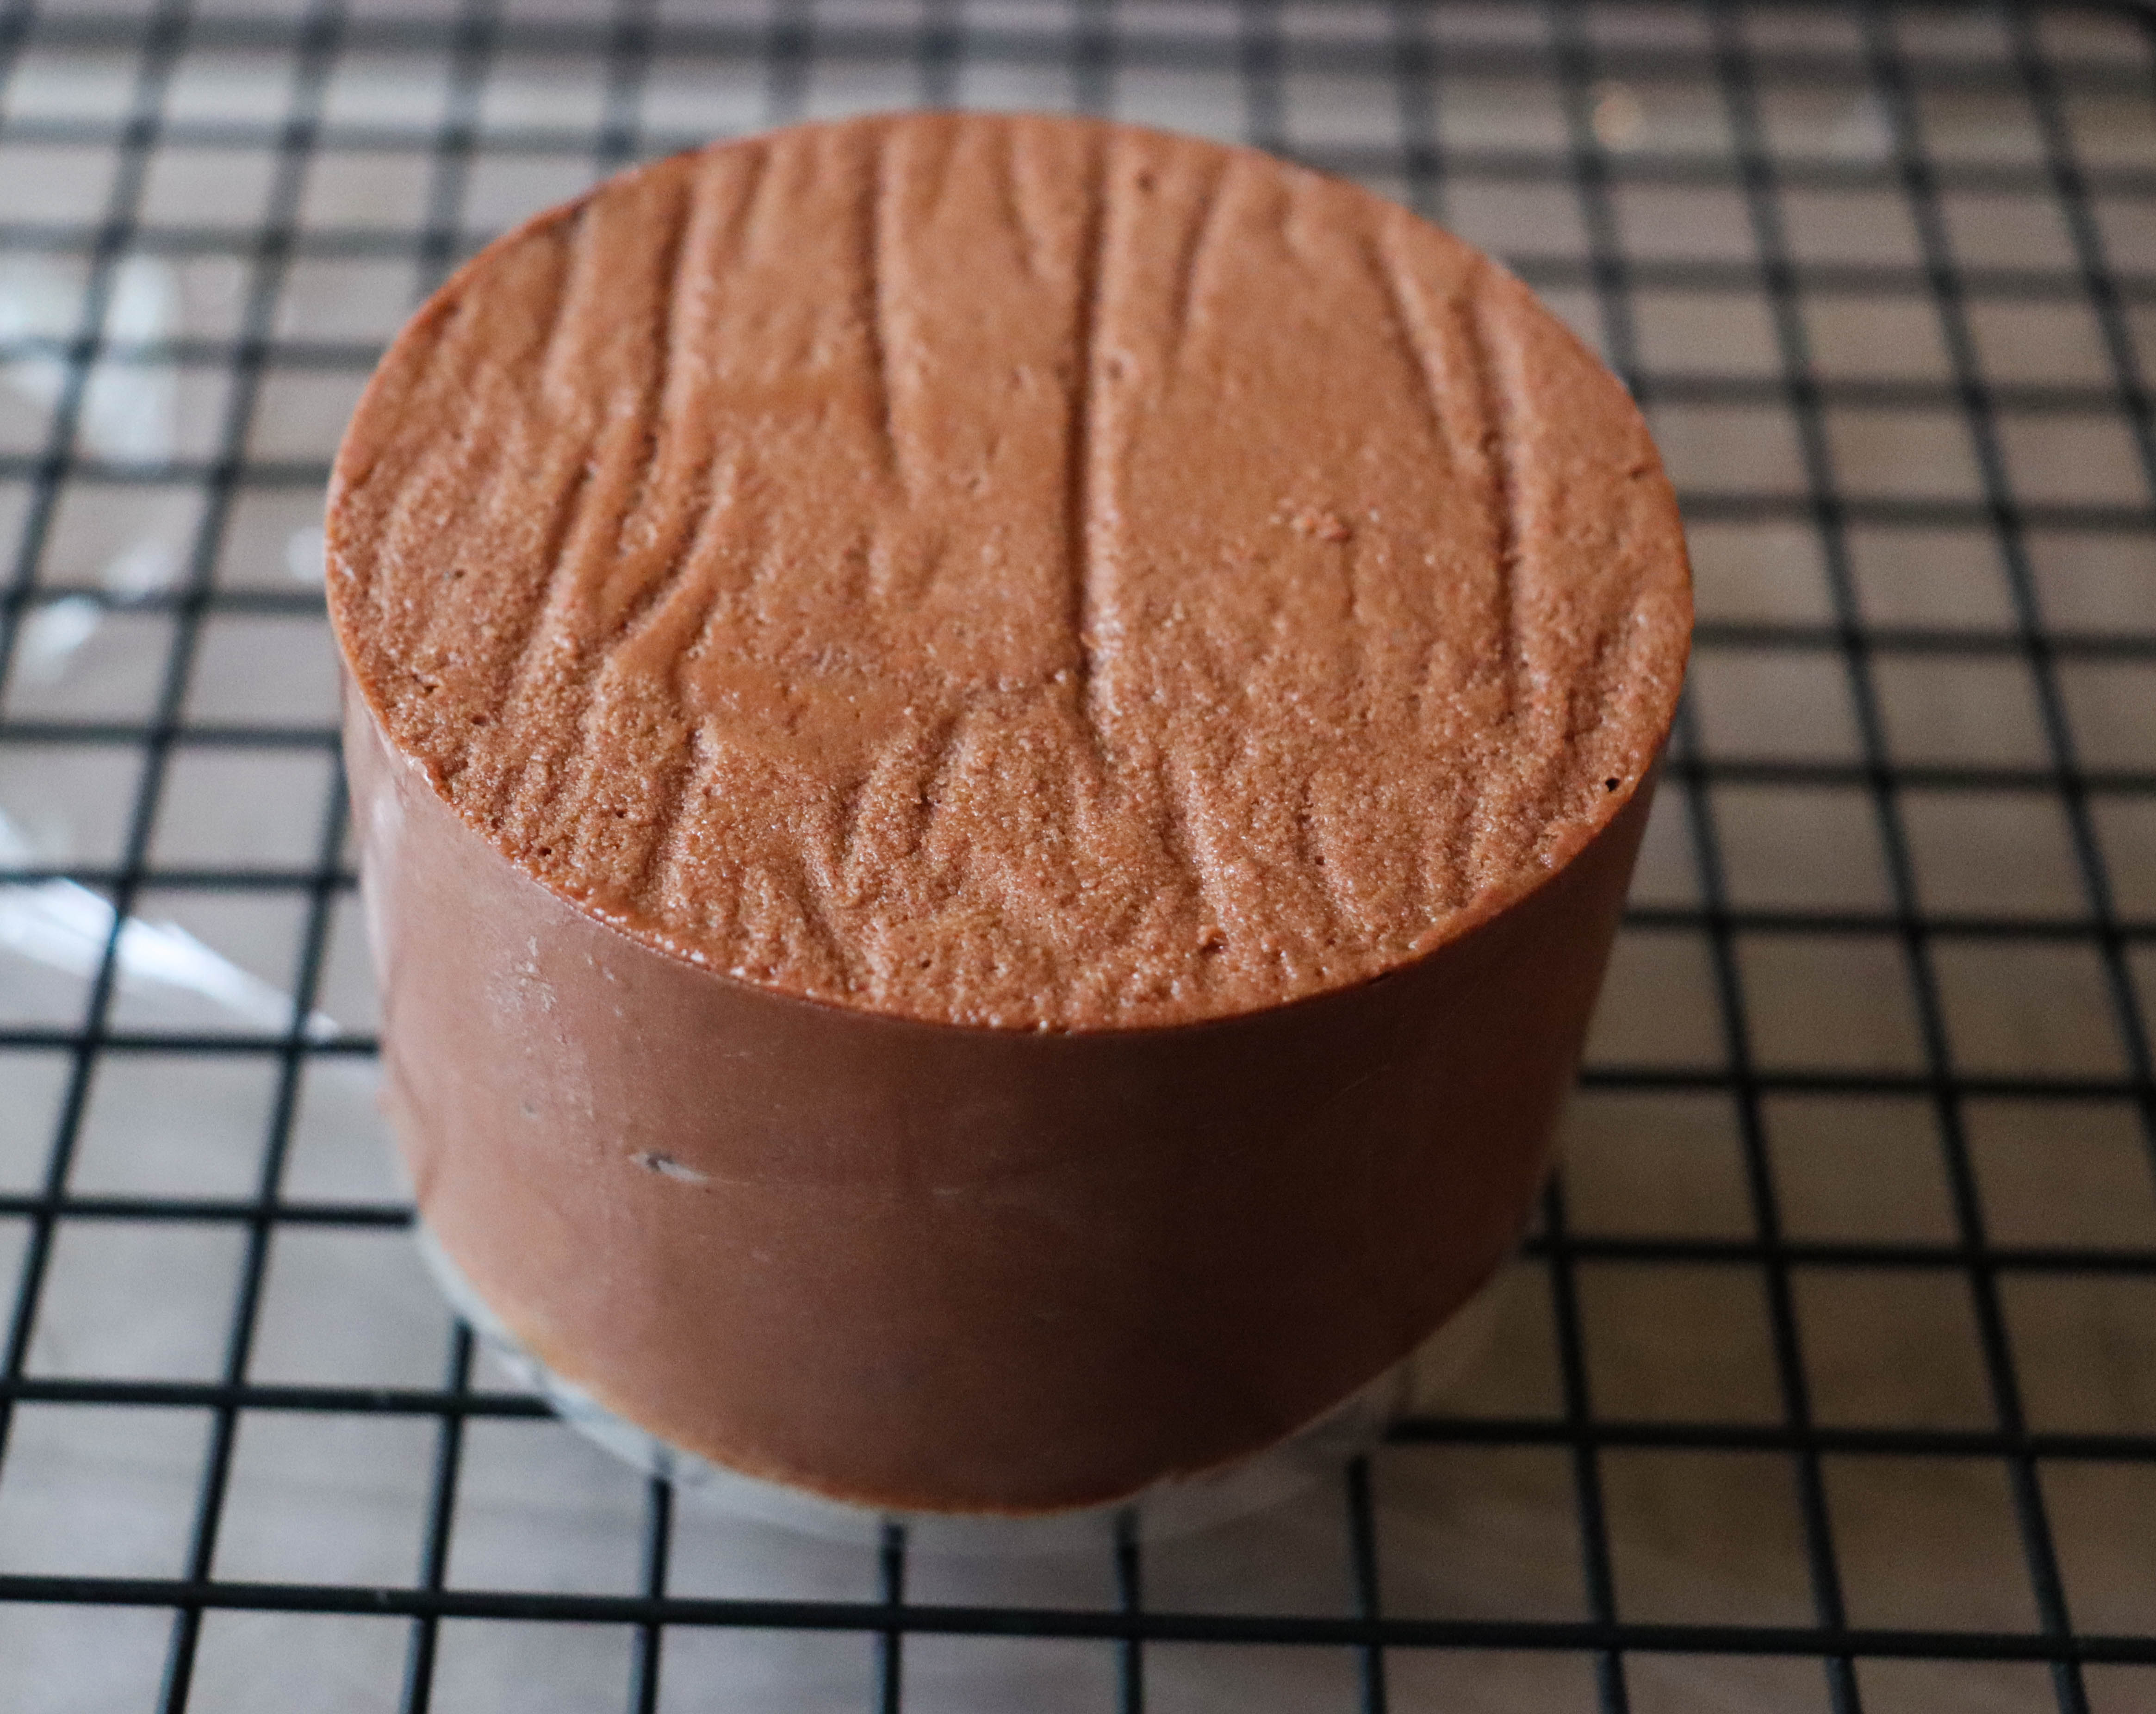
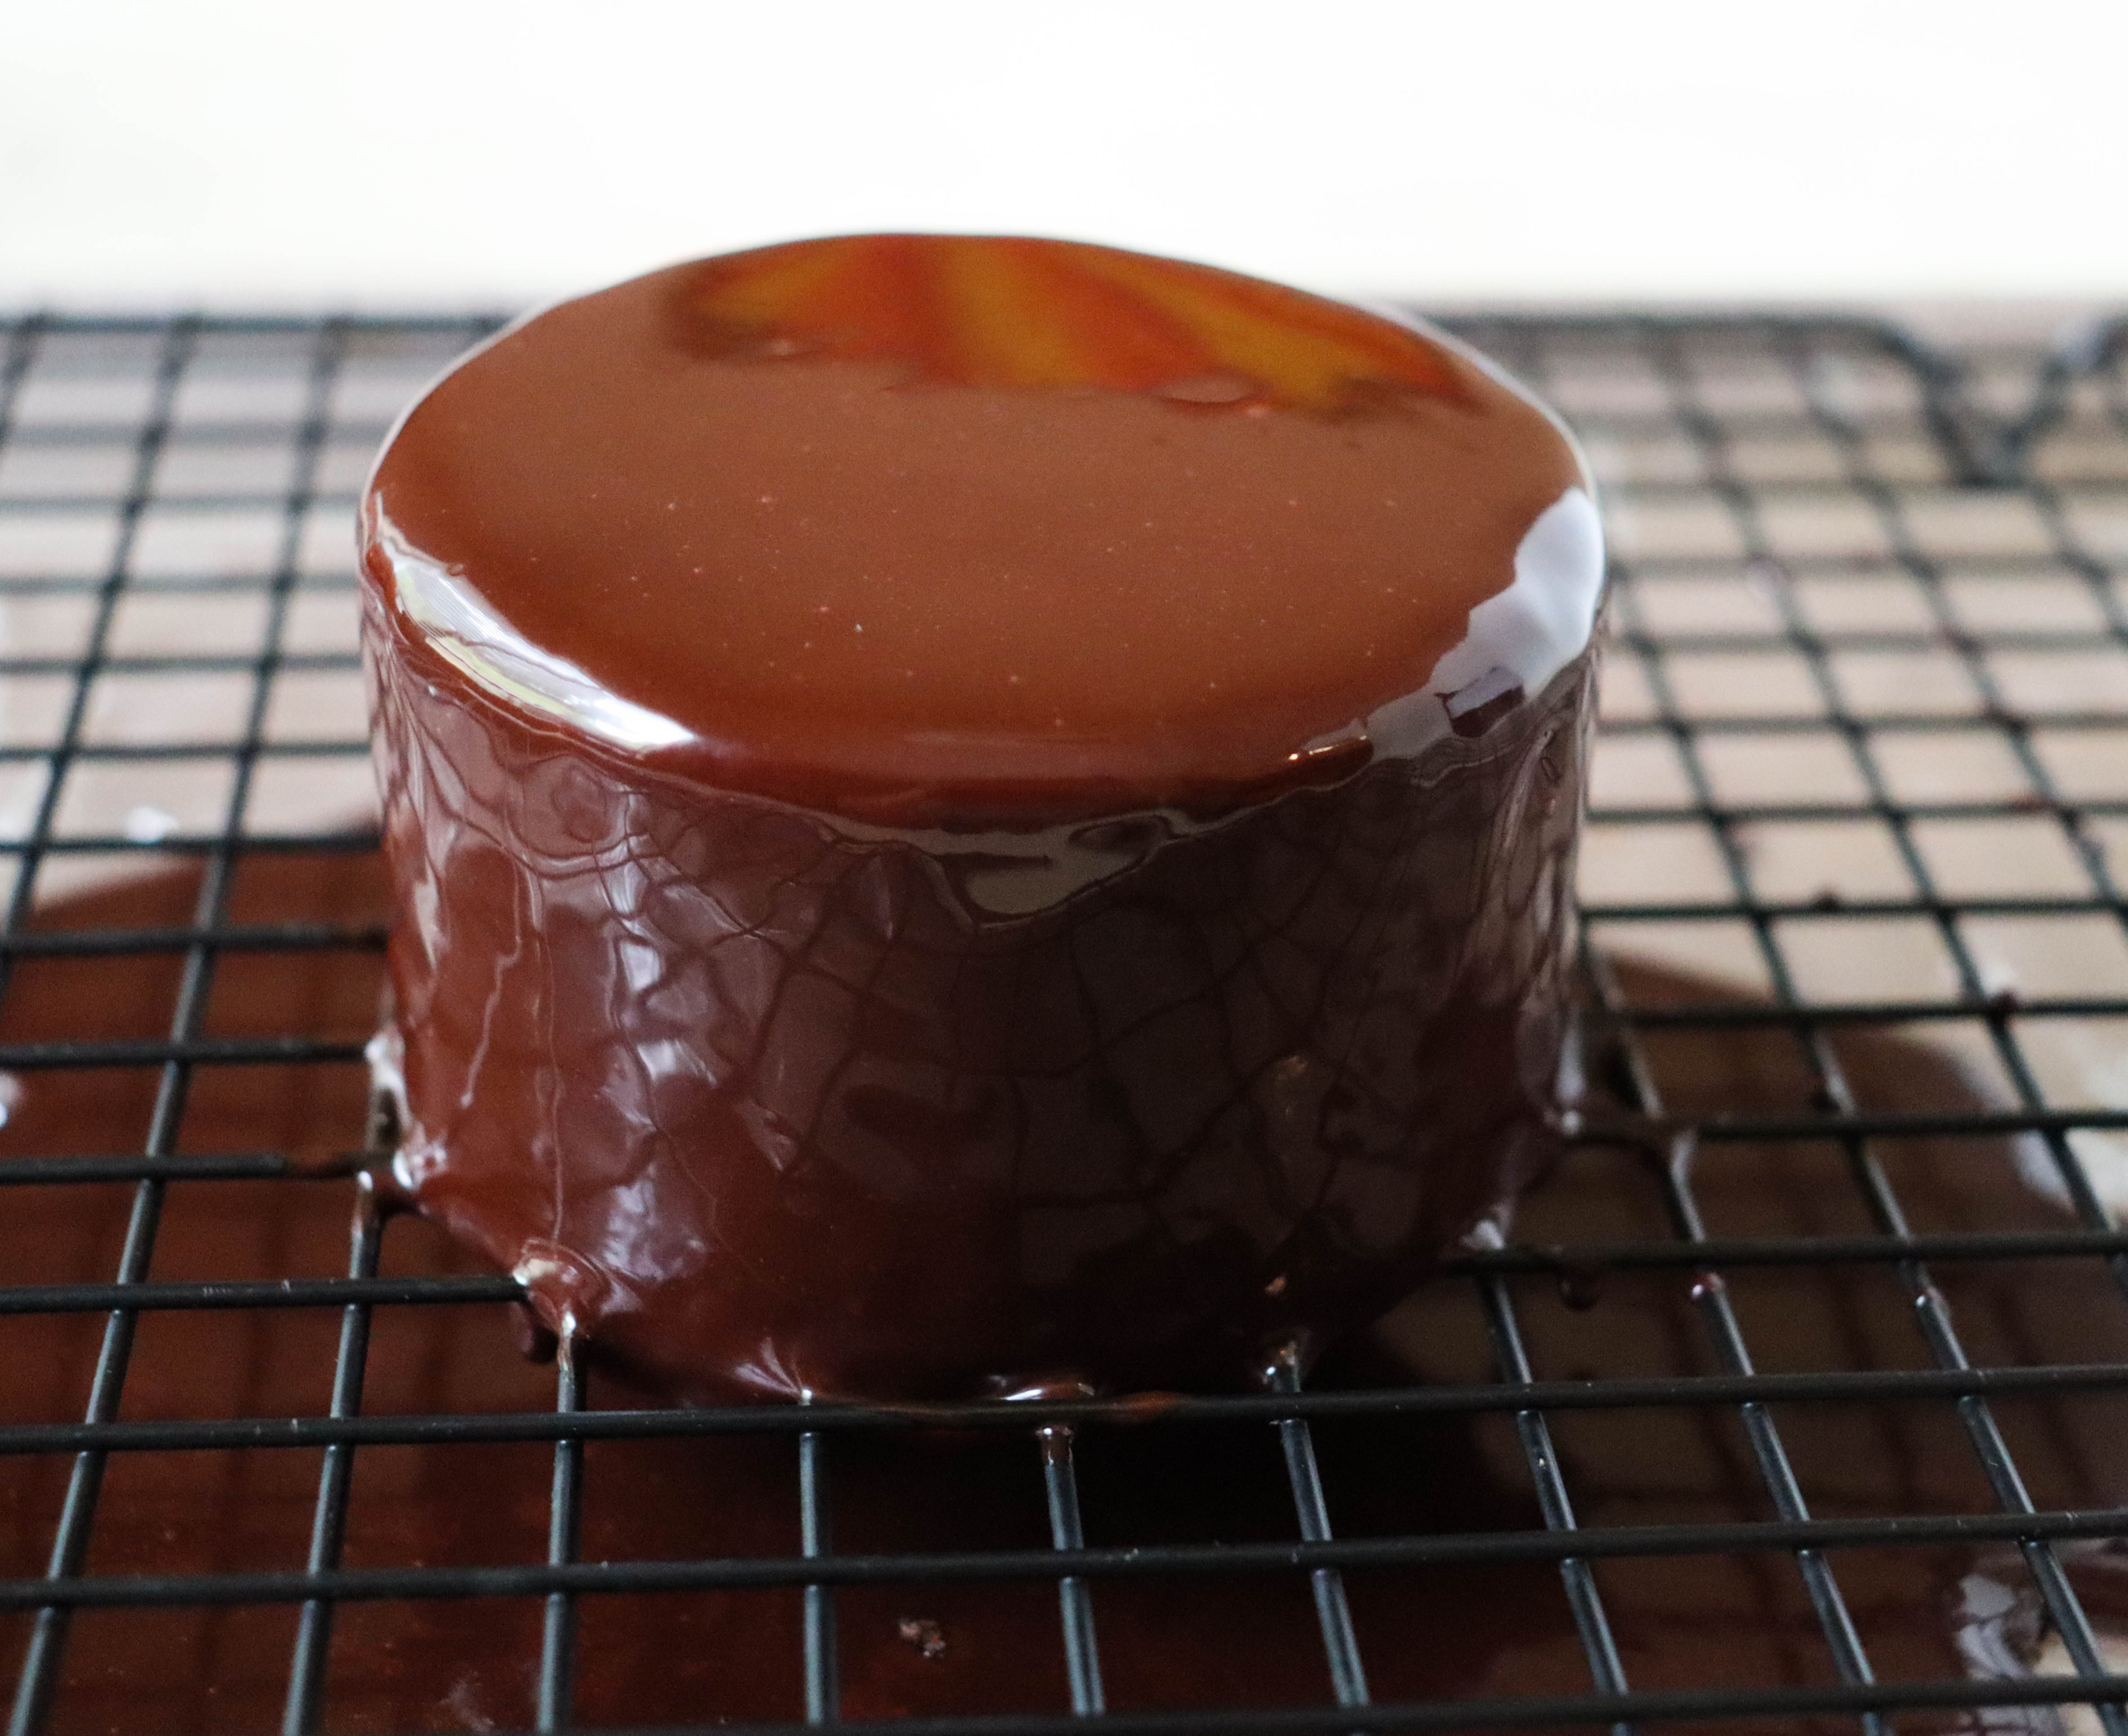
To unmold the frozen entremet cakes, use a hair dryer to heat up the sides of the cake ring for a few seconds, then gently push the cake out of the mold onto a cooling rack placed on top of a baking sheet. Remove the acetate sheet from the cake.
Before applying the glaze to the cake, make sure the glaze temperature is 104 F (40 C). Gradually pour the glaze onto the cake starting from the center outwards, fully covering the top and sides. (The excess glaze that has accumulated in the pan can be scraped up and re-used).
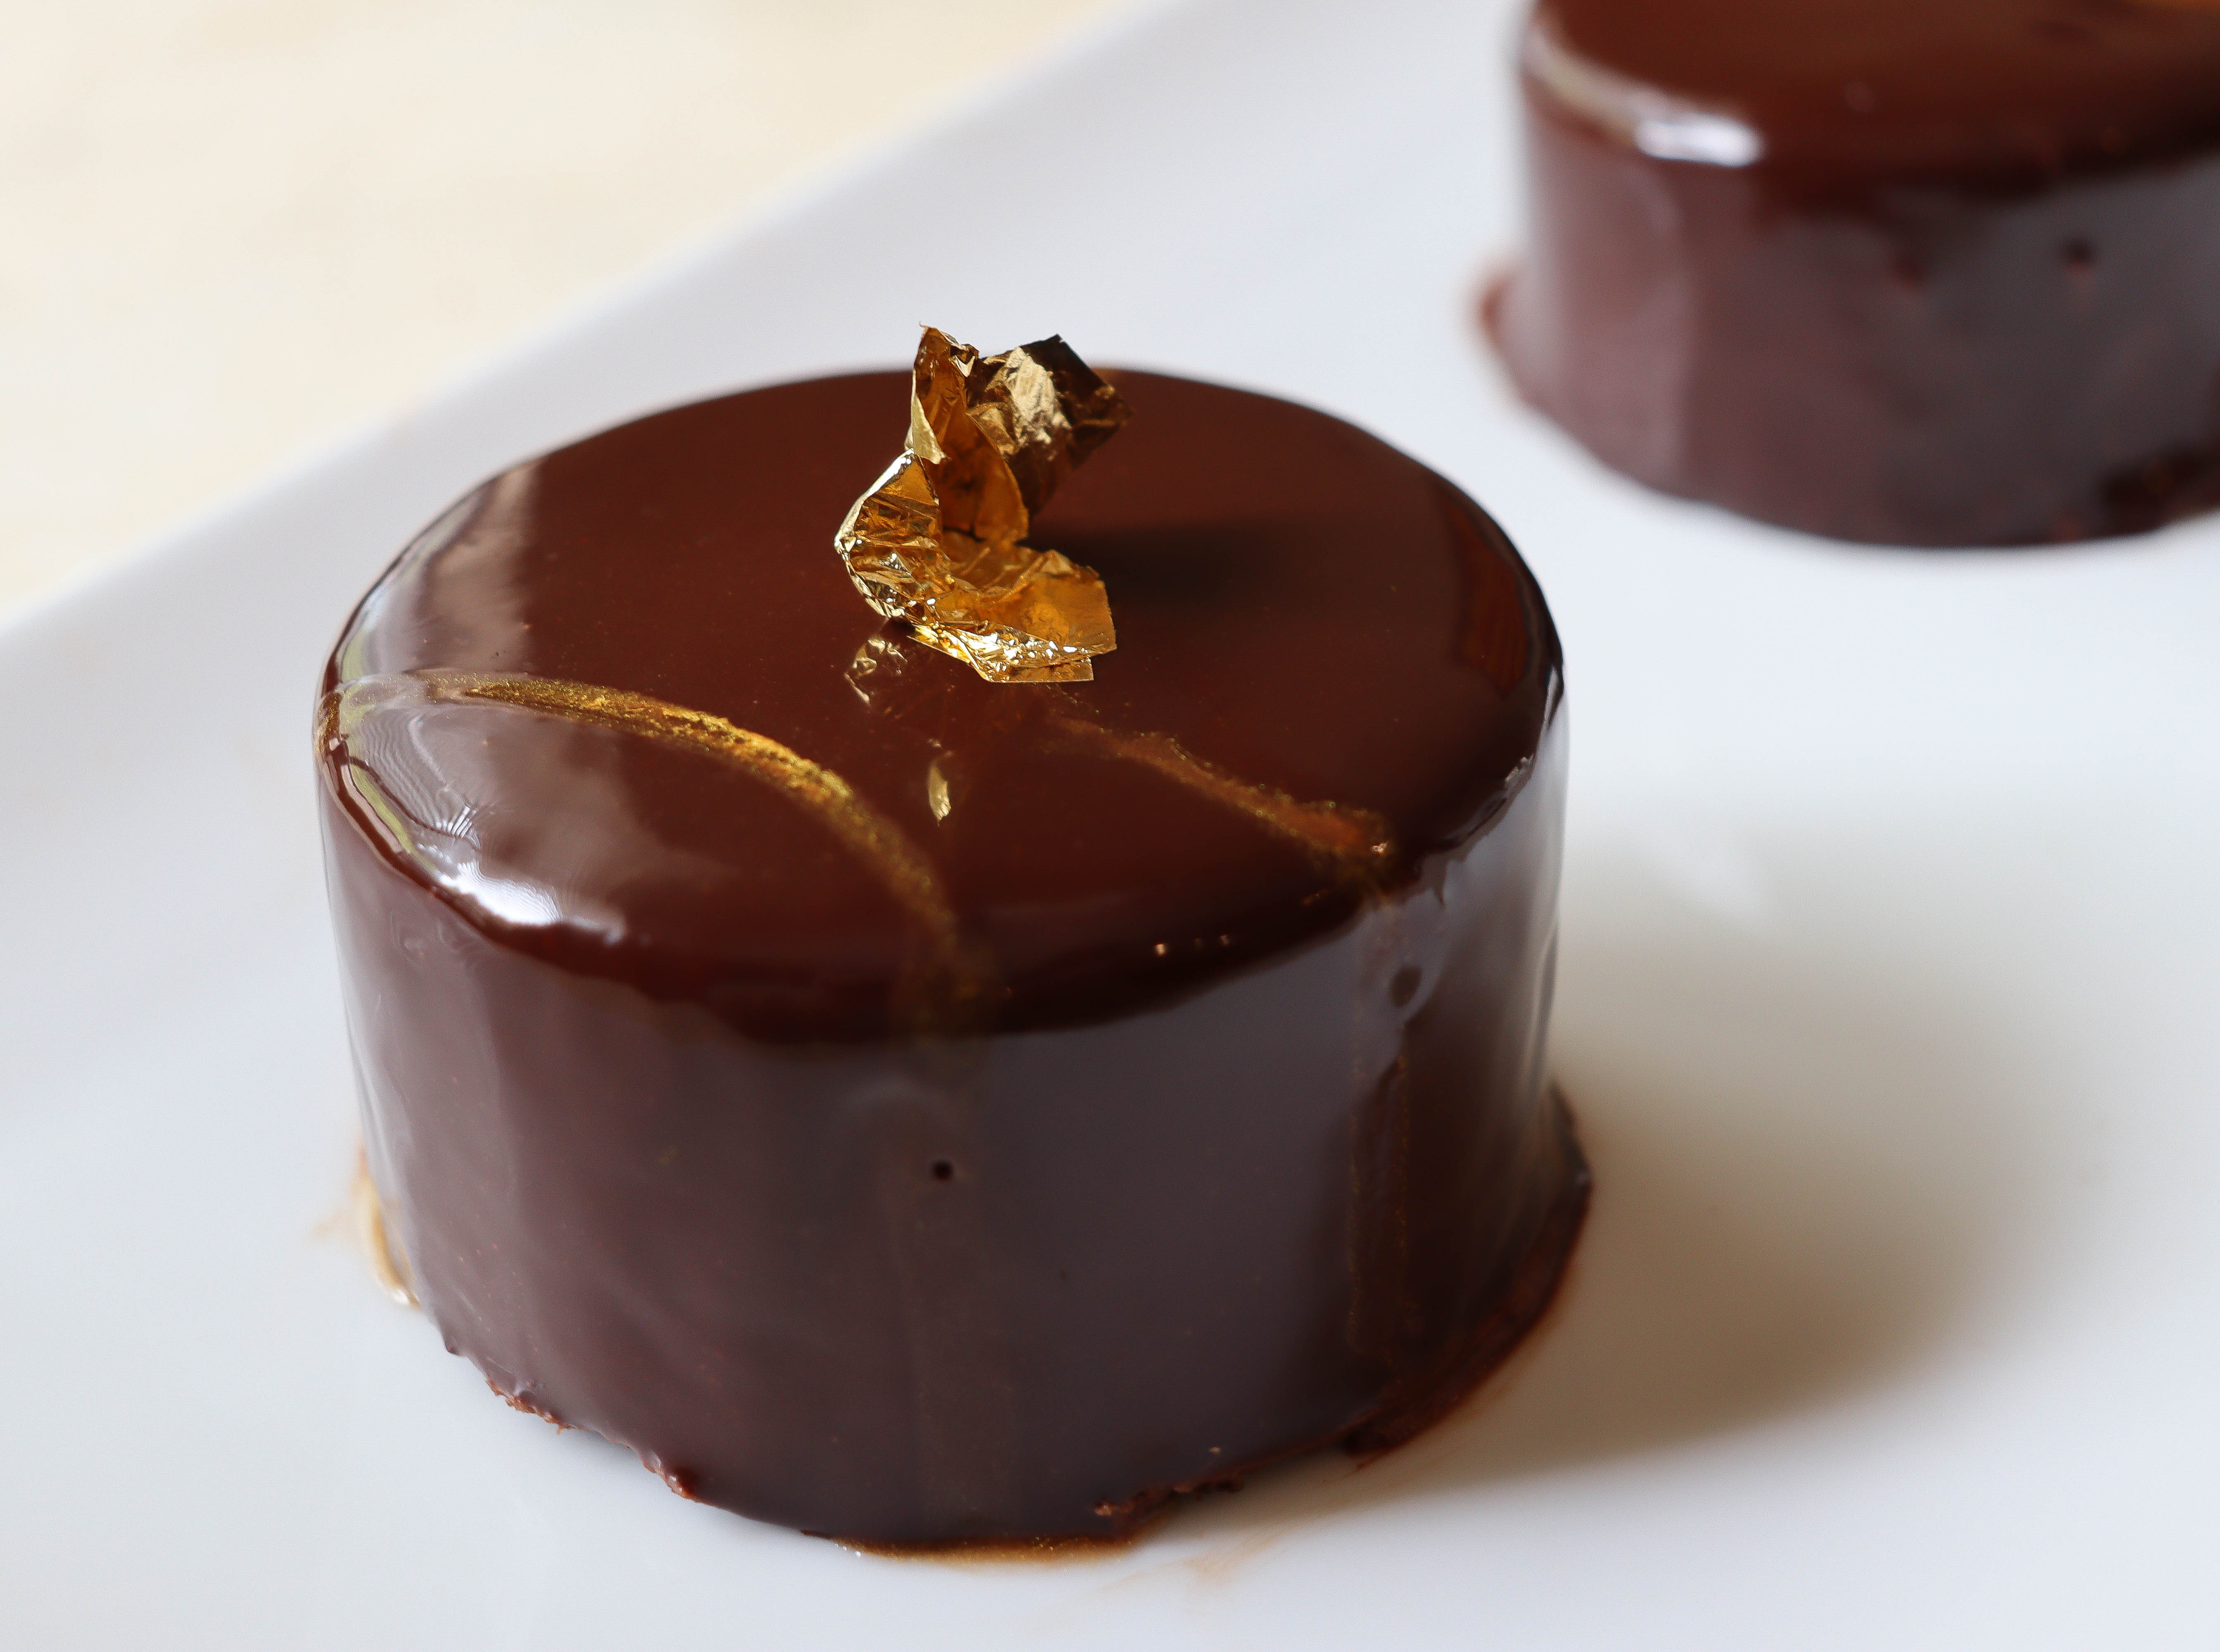
After the glaze has settled a few minutes, transfer the cake to a serving dish; decorate with some gold leaf and serve.
For the Chocolate Fudge Cake: Line a 1/4 inch sheet pan (15x10 inches) with parchment paper and pre-heat oven to 350 F. (180 C). In a large bowl, combine the sugar, flour, cocoa powder, baking powder, baking soda, and salt. In a separate bowl, whisk together the eggs, vanilla extract, mayonnaise, and water. With an electric mixer, set on low speed, gradually add the wet ingredients into the bowl with the dry ingredients until combined. Then increase the speed to medium and continue to mix for one more minute until the batter is fully combined and smooth. Spread the batter onto the parchment-lined 1/4 sheet pan and bake for about 15 minutes or until the center of the cake is set. Let the cake cool for 15 minutes, then remove from pan and cover in plastic wrap and freeze until you are ready to start assembling the cake. (In order to fit in my freezer, I cut the cake in half before wrapping in plastic). For the Dark Chocolate Ganache: Break up the dark chocolate and milk chocolate into small pieces and place into a heat-proof bowl; set aside. In a medium-sized sauce pan, bring the cream, glucose or corn syrup, and sugar to a boil. Pour 1/3 of the hot cream mixture over the chocolate pieces, whisking vigorously until the chocolate starts to melt. Pour another 1/3 of the hot cream over the chocolate while whisking, continuing until the cream is all used up. Place the butter in a tall container or pitcher and pour the ganache over it. Using an immersion blender, mix the ganache and butter together until smooth and shiny. Pour the mixture into a medium-sized bowl or 1/4 size metal baking sheet and let set for 5-6 hours until the ganache has set (or cut setting time in half by placing bowl in fridge). After the ganache has set, remove the chocolate cake from the freezer and use a 3-inch cake cutter to cut six small cake rounds (each cake round should be about 1/4 the height of your cake ring). Place the chocolate ganache into a piping bag and pipe about 2 teaspoons of ganache in the center of each cake round). Place in the freezer for at least one hour. For the Chocolate Mousse: The Mousse is made up of three components: the whipped cream, the chocolate ganache, and the egg yolks whipped with hot syrup (pâte à bombe). First, whip the 200 g cream until soft peaks form and set aside. For the chocolate ganache, break up the dark chocolate into smaller pieces and place in a heat-proof bowl. Bring the 200g heavy cream to a boil and then pour 1/3 of the hot cream onto the chocolate, whisking vigorously. Working in thirds, continue to pour the hot cream onto the chocolate until all of the cream has been used, whisking in-between each addition. Set aside. For the pâte à bombe, place your egg yolks into a heat-proof bowl. In a large saucepan, heat the sugar and water together until the temperature reaches 244 F (118 C). Slowly pour the hot mixture onto the bowl holding the egg yolks, whisking continuously until the mixture thickens and turns a pale yellow: this is called the "ribbon stage" where after the whisk is lifted, the mixture forms a ribbon that slowly falls back into the mixture and dissolves). Combine all three components: first fold the whip cream into the ganache, then pour the egg yolk mixture into the bowl of the mixed chocolate ganache, then fold all ingredients until smooth. Transfer mousse to a piping bag and coat inside of each metal cake ring with cooking spray. Line inside of each cake mold with acetate. Pipe the Mousse into each cake ring, filling 3/4 of the way to the top. Gently press each frozen cake ring (topped with the ganache) into the ring with the ganache facing downward. The mousse should gradually move up toward the top of the ring. Flatten out the mousse and scrape off any excess mousse. Freeze each cake for at least three hours or overnight. For the Chocolate Glaze: First, place your gelatin sheets in a bowl of cold water for about 5 minutes to soften. Heat the water, sugar, and a few drops of red food gel on the stovetop until the mixture reaches 222 F (106 C). In a separate bowl, mix the glucose (or corn syrup) and cream together then microwave for one minute until warm. Now pour this into the pan holding the sugar/water mixture, whisking continuously, then bring to a boil. Add the cocoa powder, remove from the heat and continue to mix. Squeeze out the excess moisture from the gelatin leaves, then place in a pitcher or large measuring cup. Pour the sugar/cocoa mixture on top of the gelatin and mix with an immersion blender until all bubbles are gone. (If there is too much glaze to fit into one container, you can divide it into two receptacles). Let temperature reduce to 104 F (40 C) while preparing your cake molds. To unmold the frozen entremet cakes, use a hair dryer to heat up the sides of the cake ring for a few seconds, then gently push the cake out of the mold onto a cooling rack placed on top of a baking sheet. Remove the acetate sheet from the cake. Before applying the glaze to the cake, make sure the glaze temperature is 104 F (40 C). Gradually pour the glaze onto the cake starting from the center outwards, fully covering the top and sides. (The excess glaze that has accumulated in the pan can be scraped up and re-used). After the glaze settle a few minutes, transfer the cake to a serving dish; decorate with some gold leaf and serve. If not serving immediately, chill the cakes in the fridge until ready to serve.Chocolate Mousse Entremet Cake
Print Recipe
Ingredients
Instructions
Notes
5 Comments
angiesrecipes
June 10, 2025 at 11:23 amwow lots of work, but it looks definitely worth all of the efforts!
Fran Flint
June 10, 2025 at 11:58 amThanks Angie for your comment. Yes, any entremet cake is going to take a bit of work since there are several layers involved. The second time I made this cake, it went a lot faster since I was more familiar with the steps!
David Scott Allen
June 10, 2025 at 3:22 pmI made an entremet cake once — I wish it looked as beautiful as yours! You are inspiring me to try again — maybe for my own birthday in August! Thanks, Fran!
Fran Flint
June 10, 2025 at 6:01 pmDavid, I hope you do try to make another entremet cake. As long as the mirror glaze looks good, then you’re already ‘half way there’!
Raymund
June 11, 2025 at 4:40 pmEntremets always seemed intimidating but now I’m seriously tempted to try. That mirror glaze is perfection 😍